Mountain Steed Springs by Specialty Retro Products
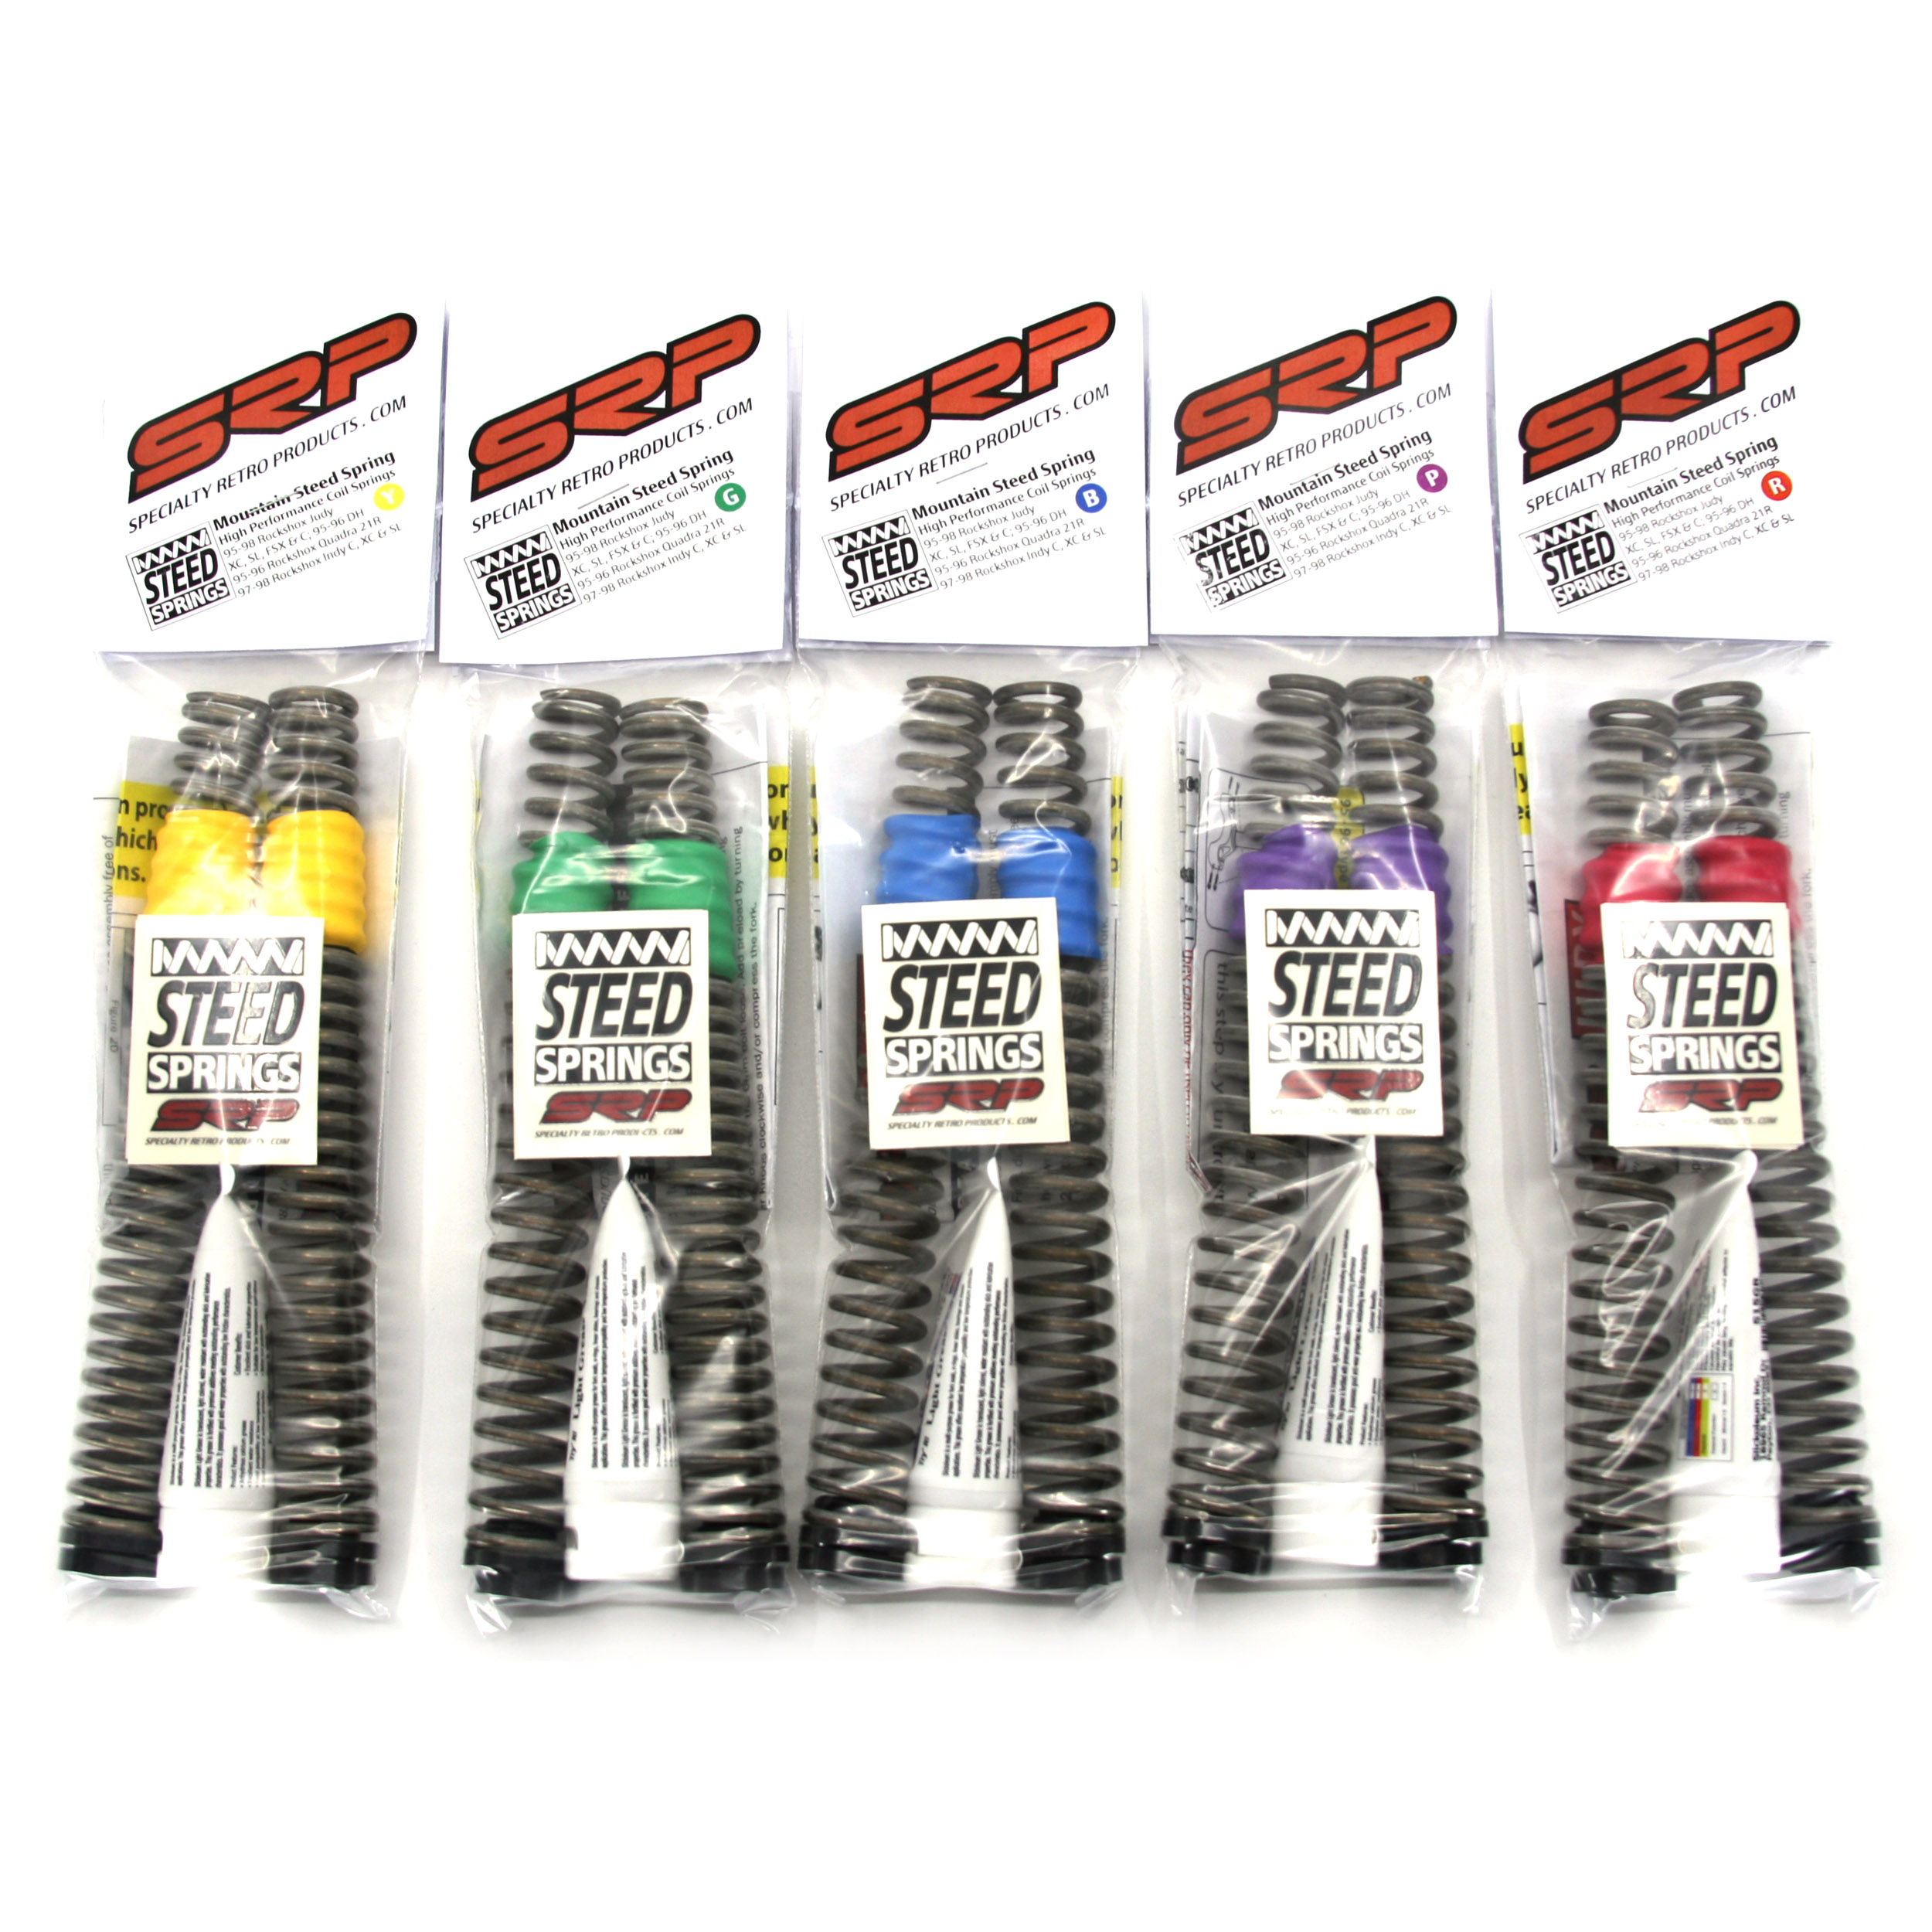
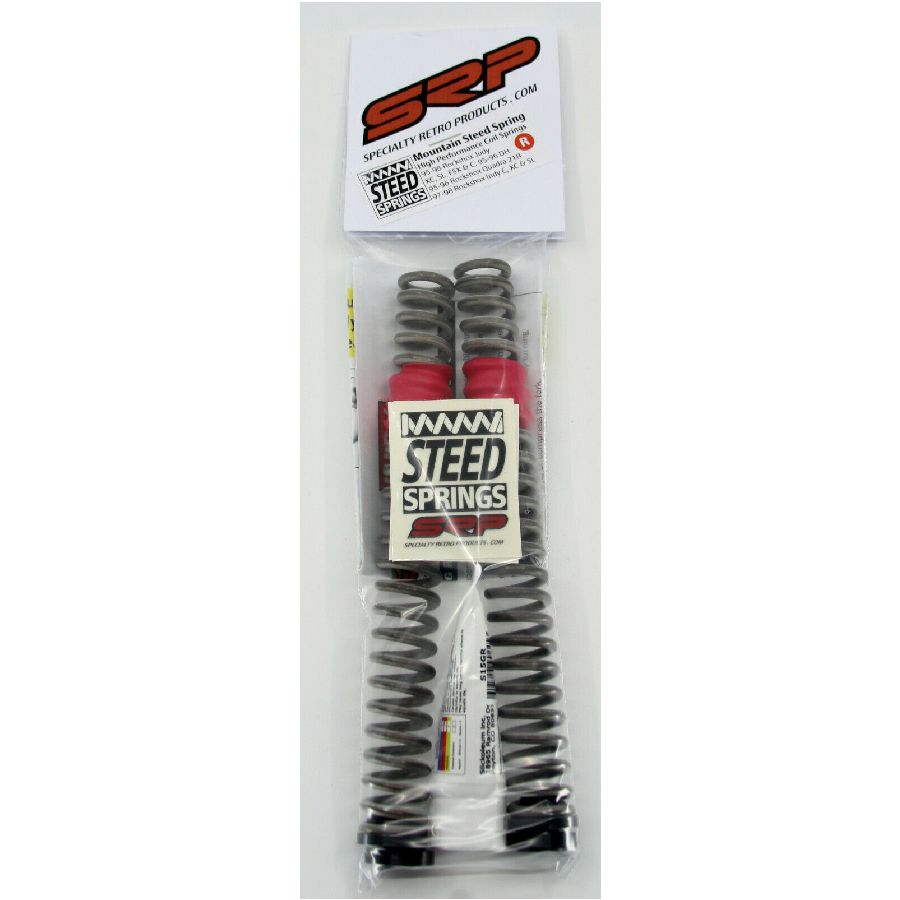
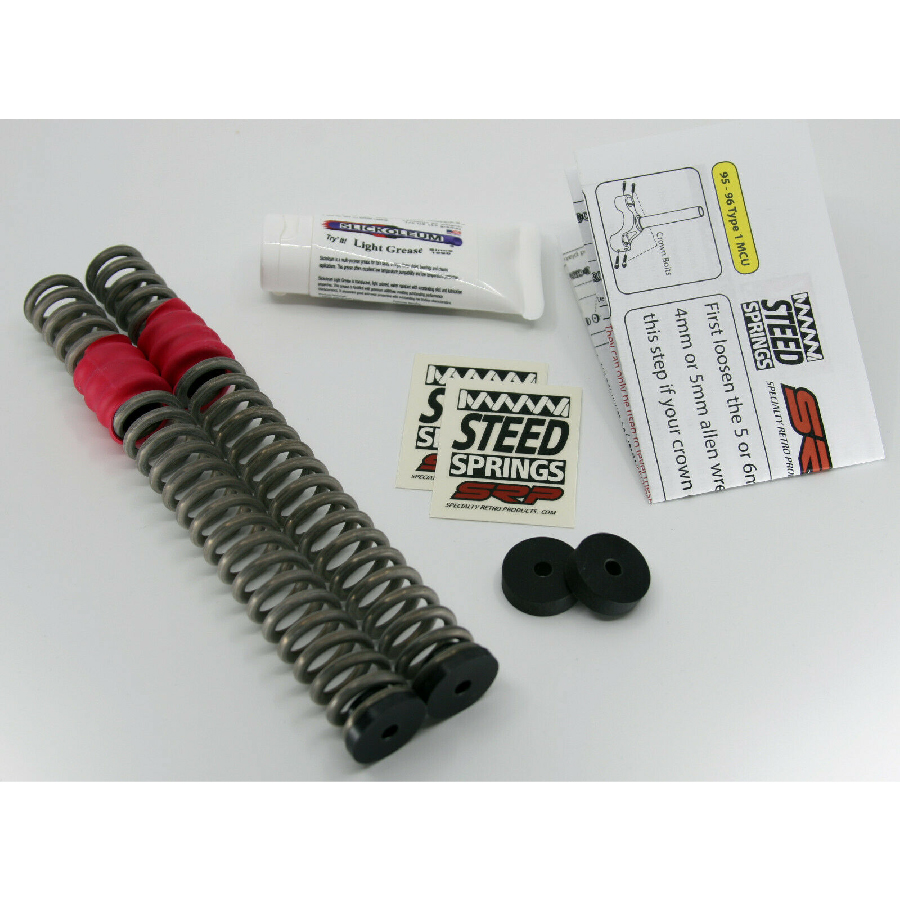
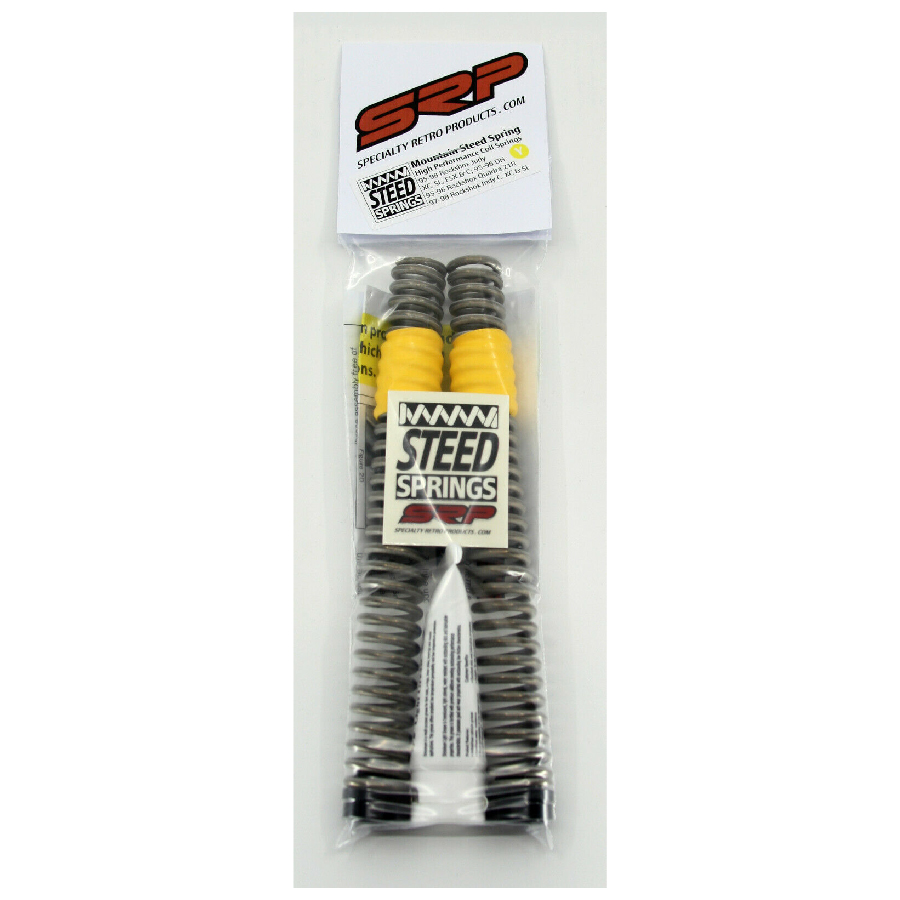
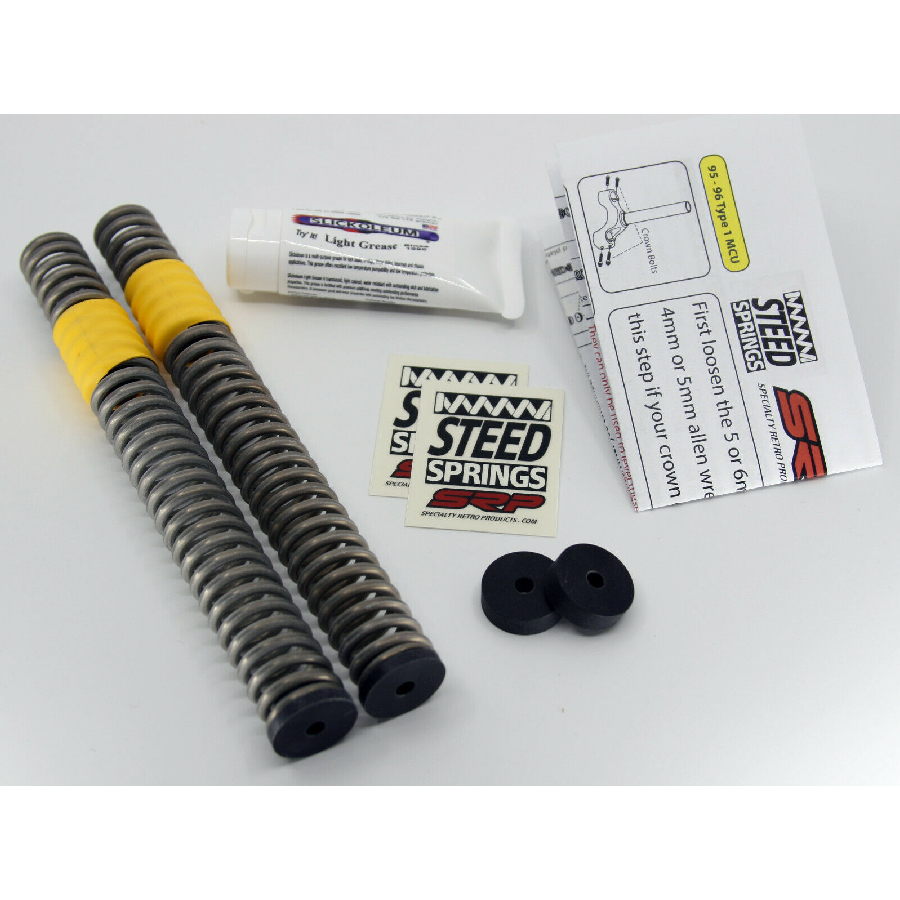
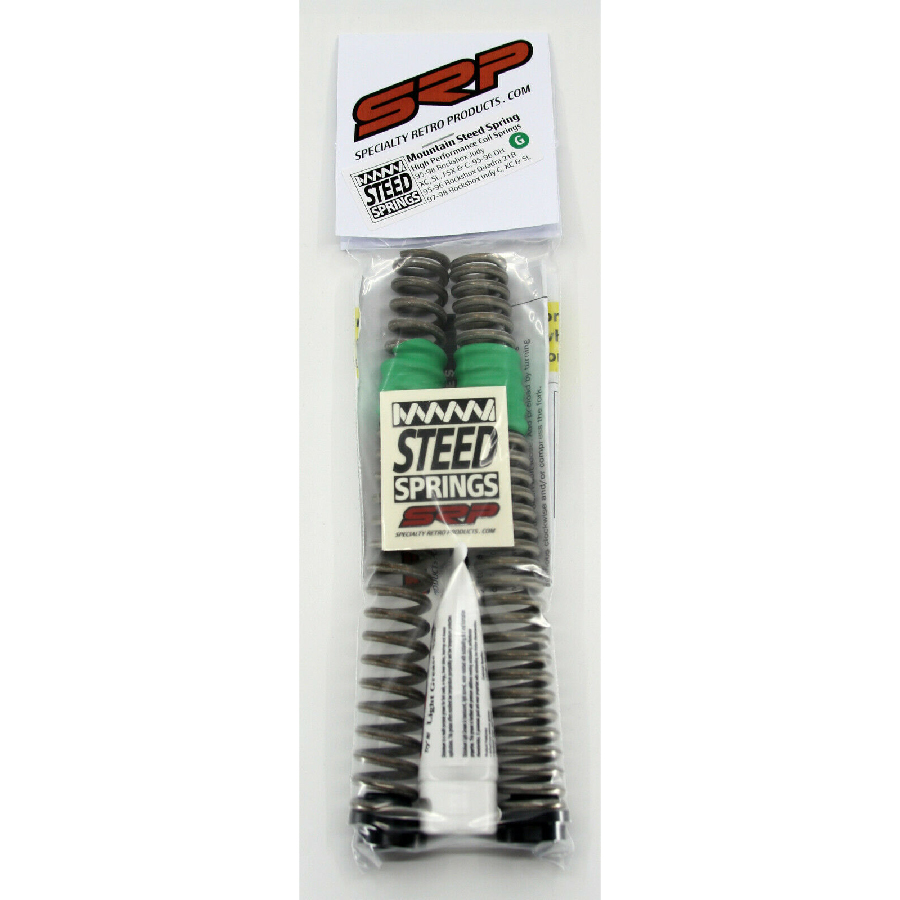
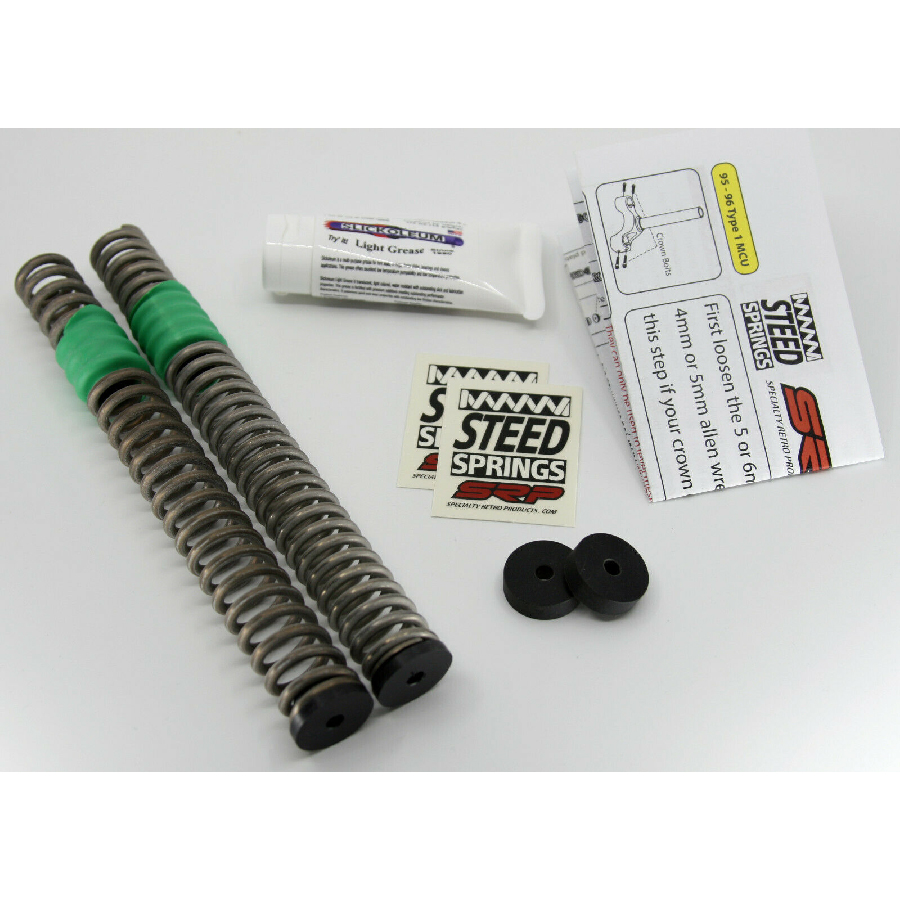
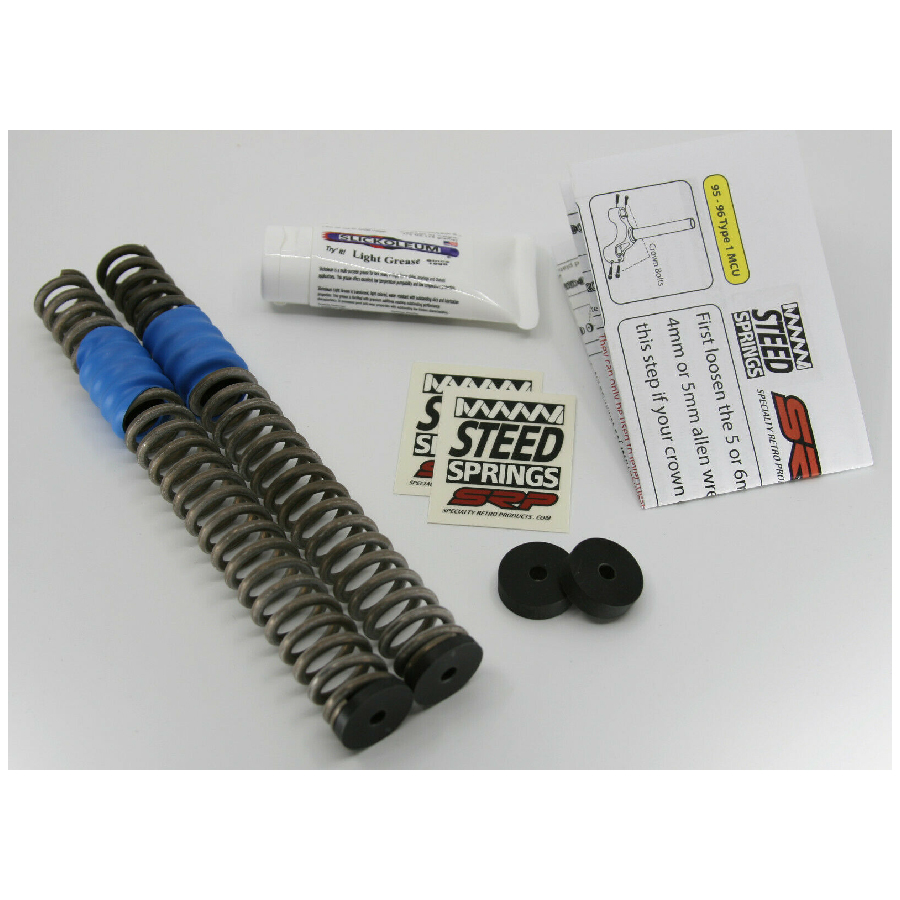
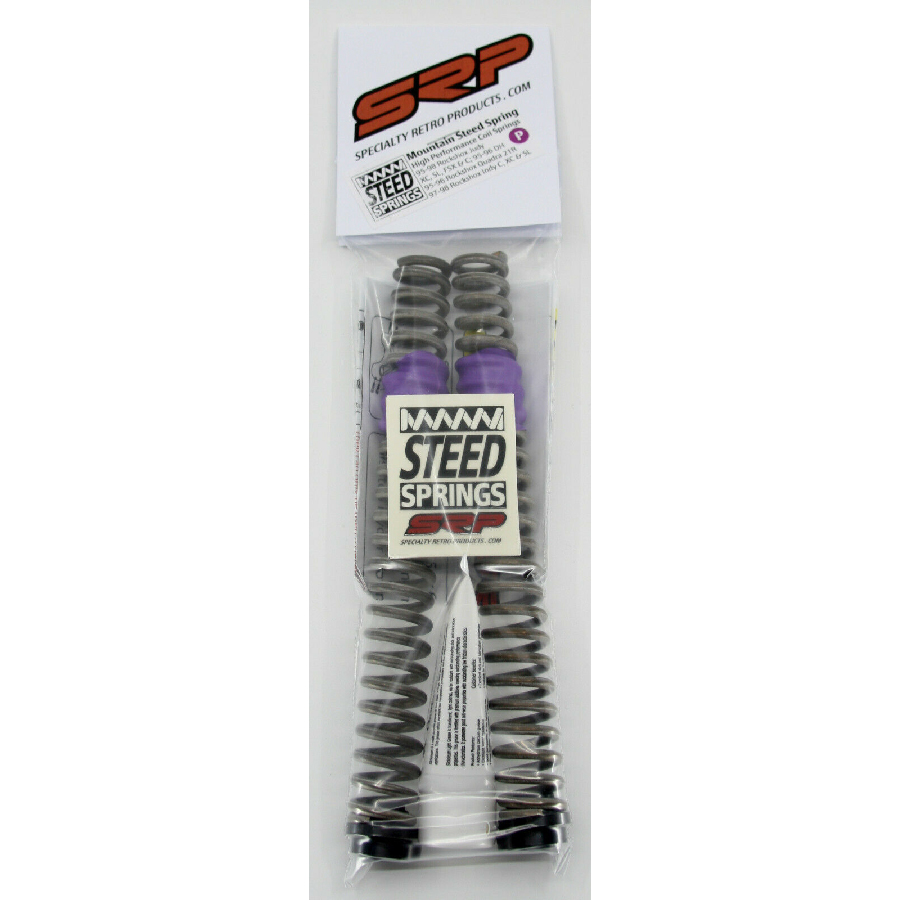
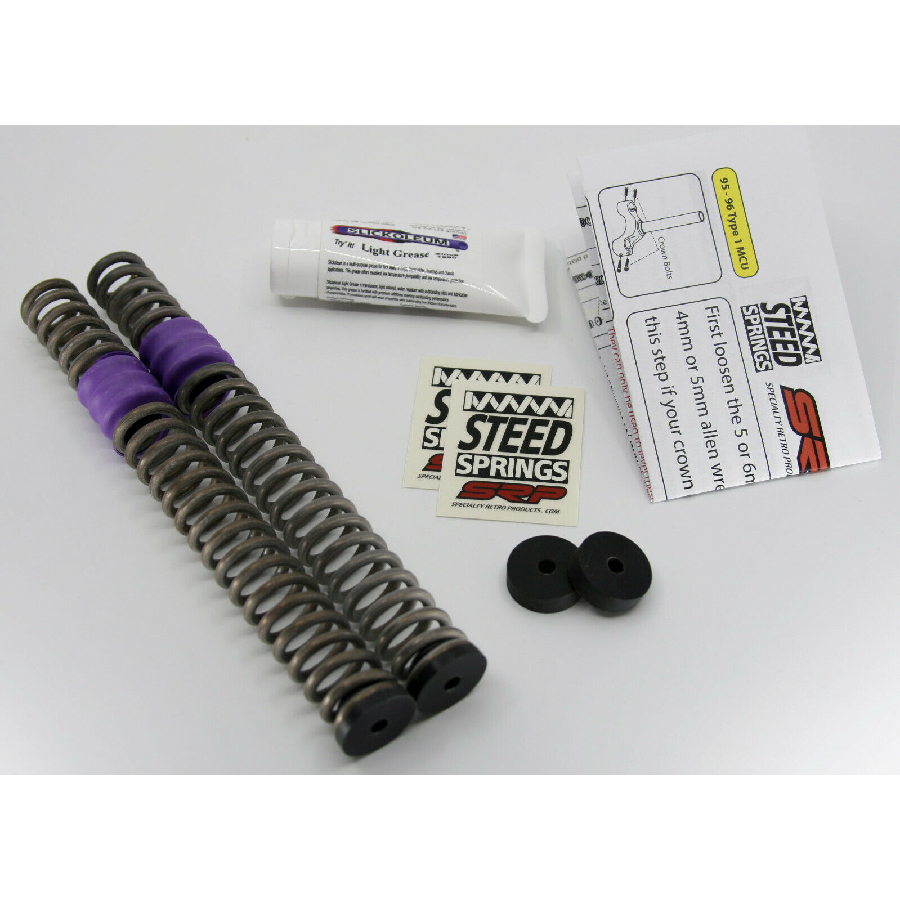
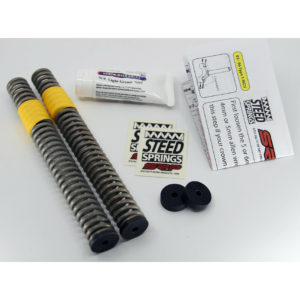
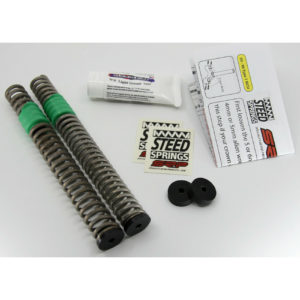
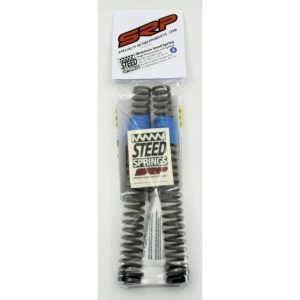
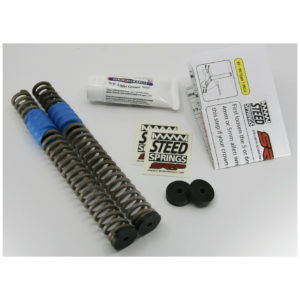
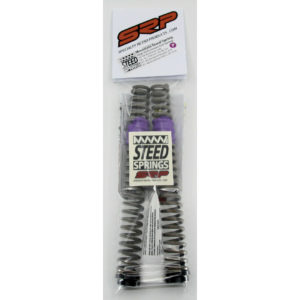
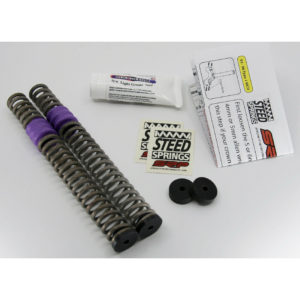
Specialty Retro Products has developed a line a custom made springs to replace your worn out elastomers (aka MCU’s). These springs will work with all 3 stock travel lengths. They are now compatible with all top cap types supporting a wider range of forks with just one design. These kits are engineered and custom made using corrosion resistant material to work specifically with these specified forks. These are not an off the shelf items that sort of work and make a lot of noise. They are the real deal.
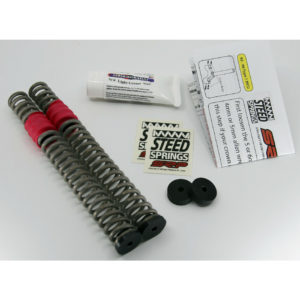
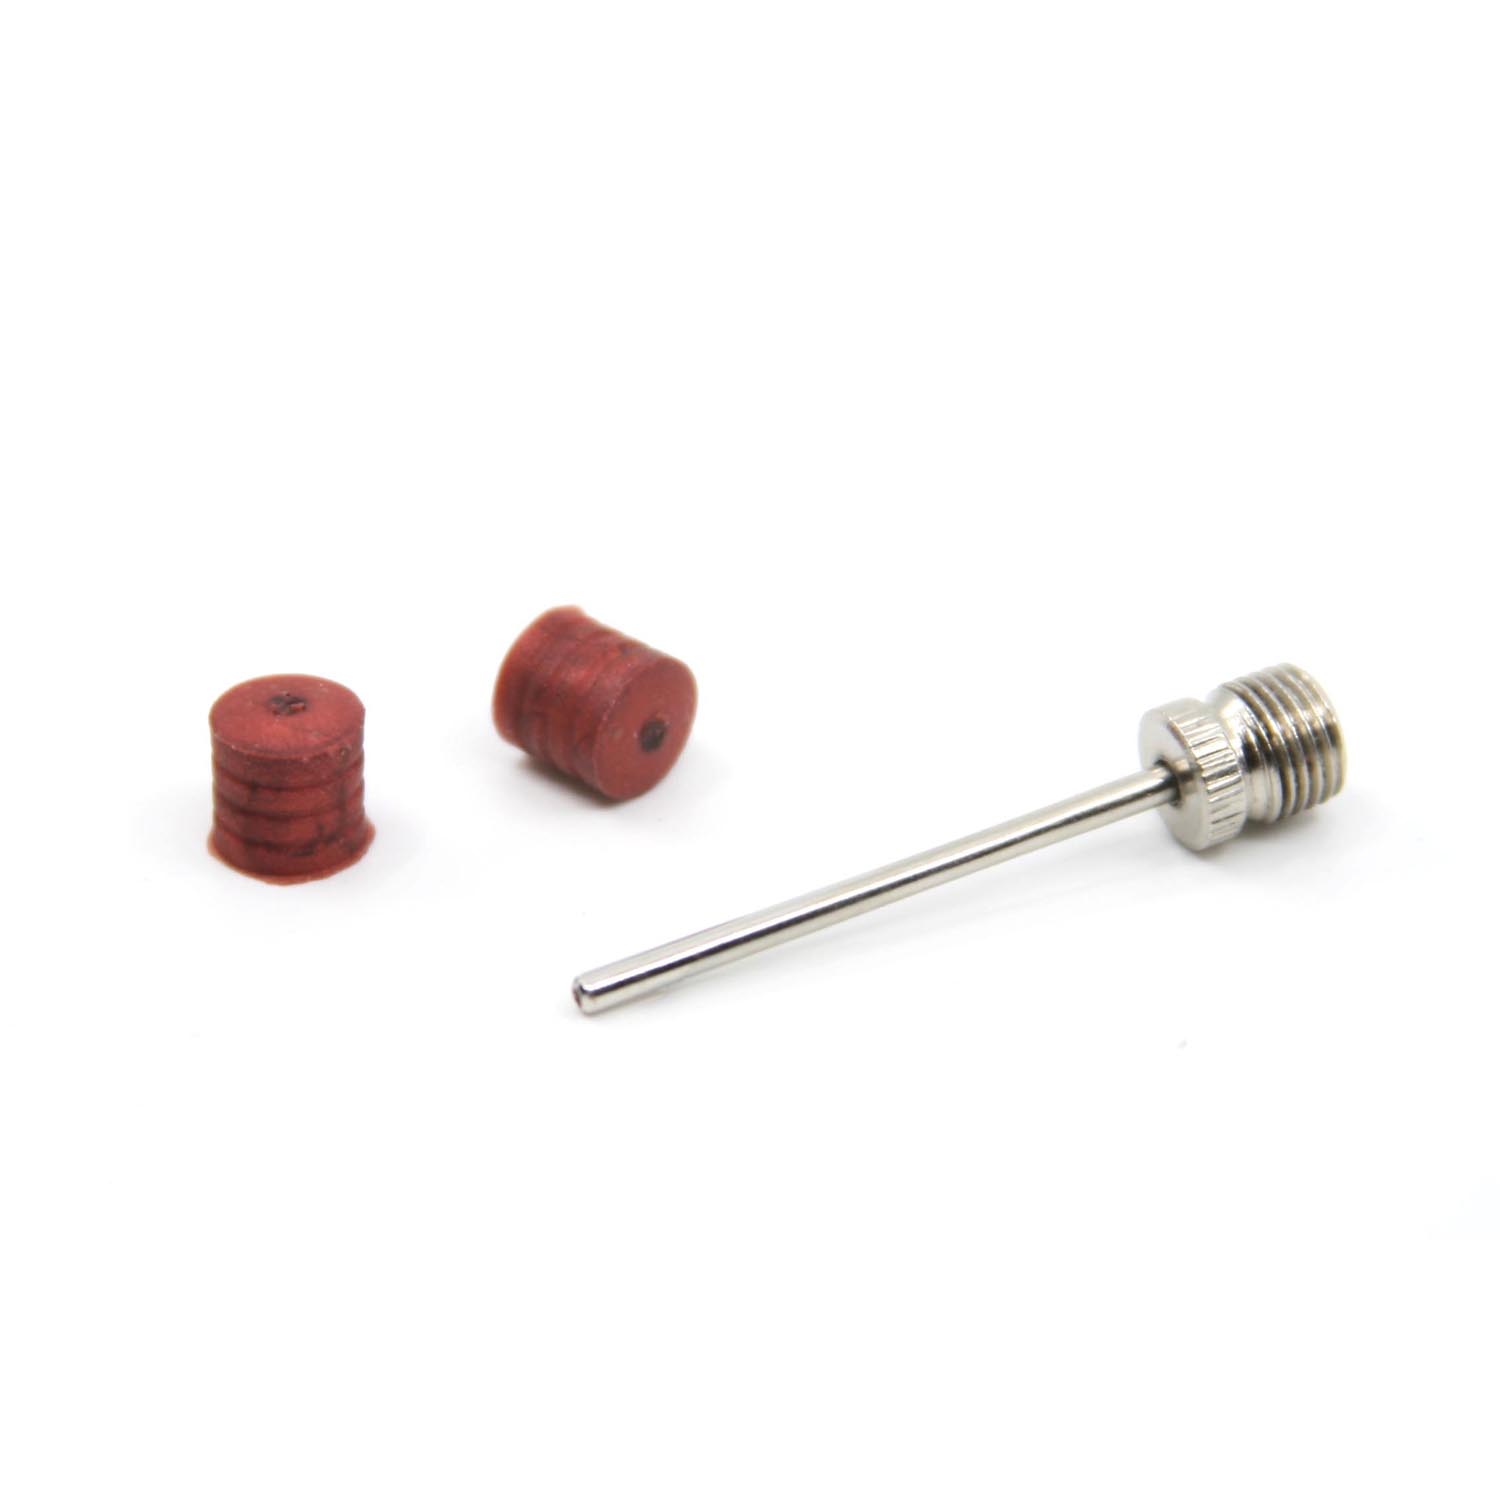
Rockshox had have some variation in there Judy damper cartridge sizes as well as top caps so our kits include tuning chips that can be added to compensate for all sizes.
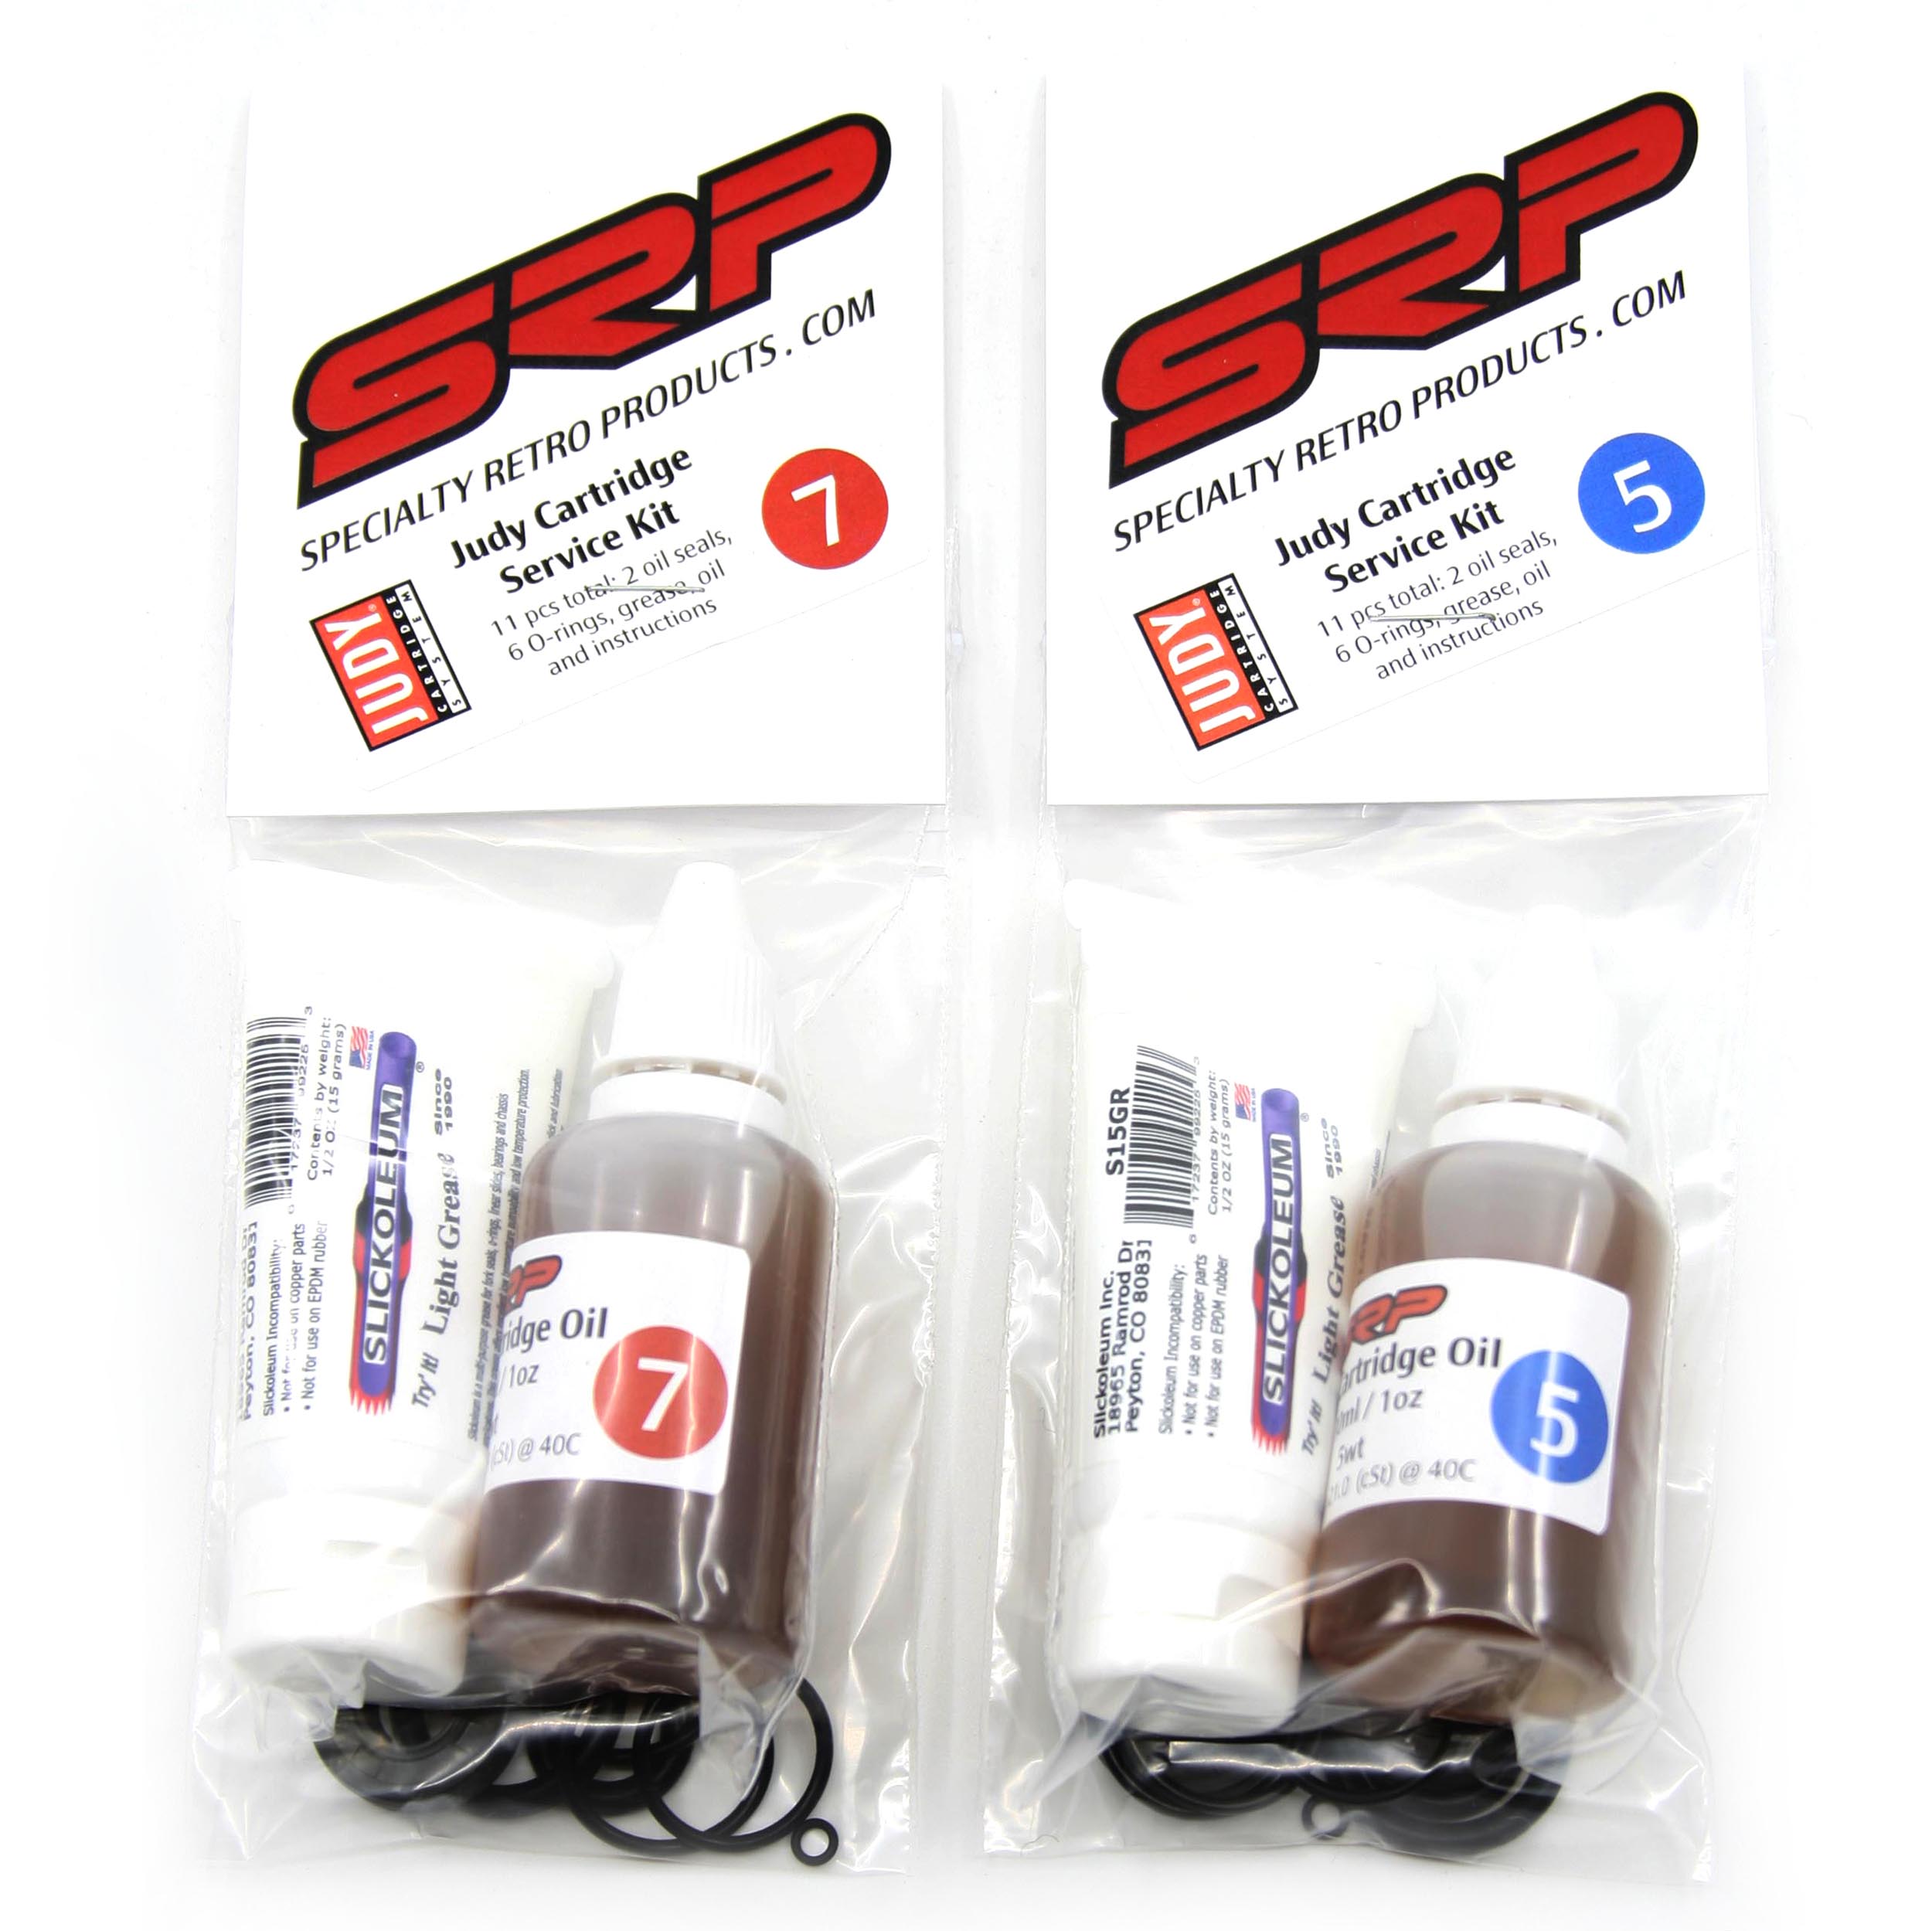
Your kit will include detailed installation instructions for the Judy forks as well as some additional maintenance tips to keep your shock running longer. Your springs should always be installed well greased. All kits will include a 1/2 oz tube of Slickoleum Suspension Grease which is equivalent to the manufacture recommended Judy Butter.
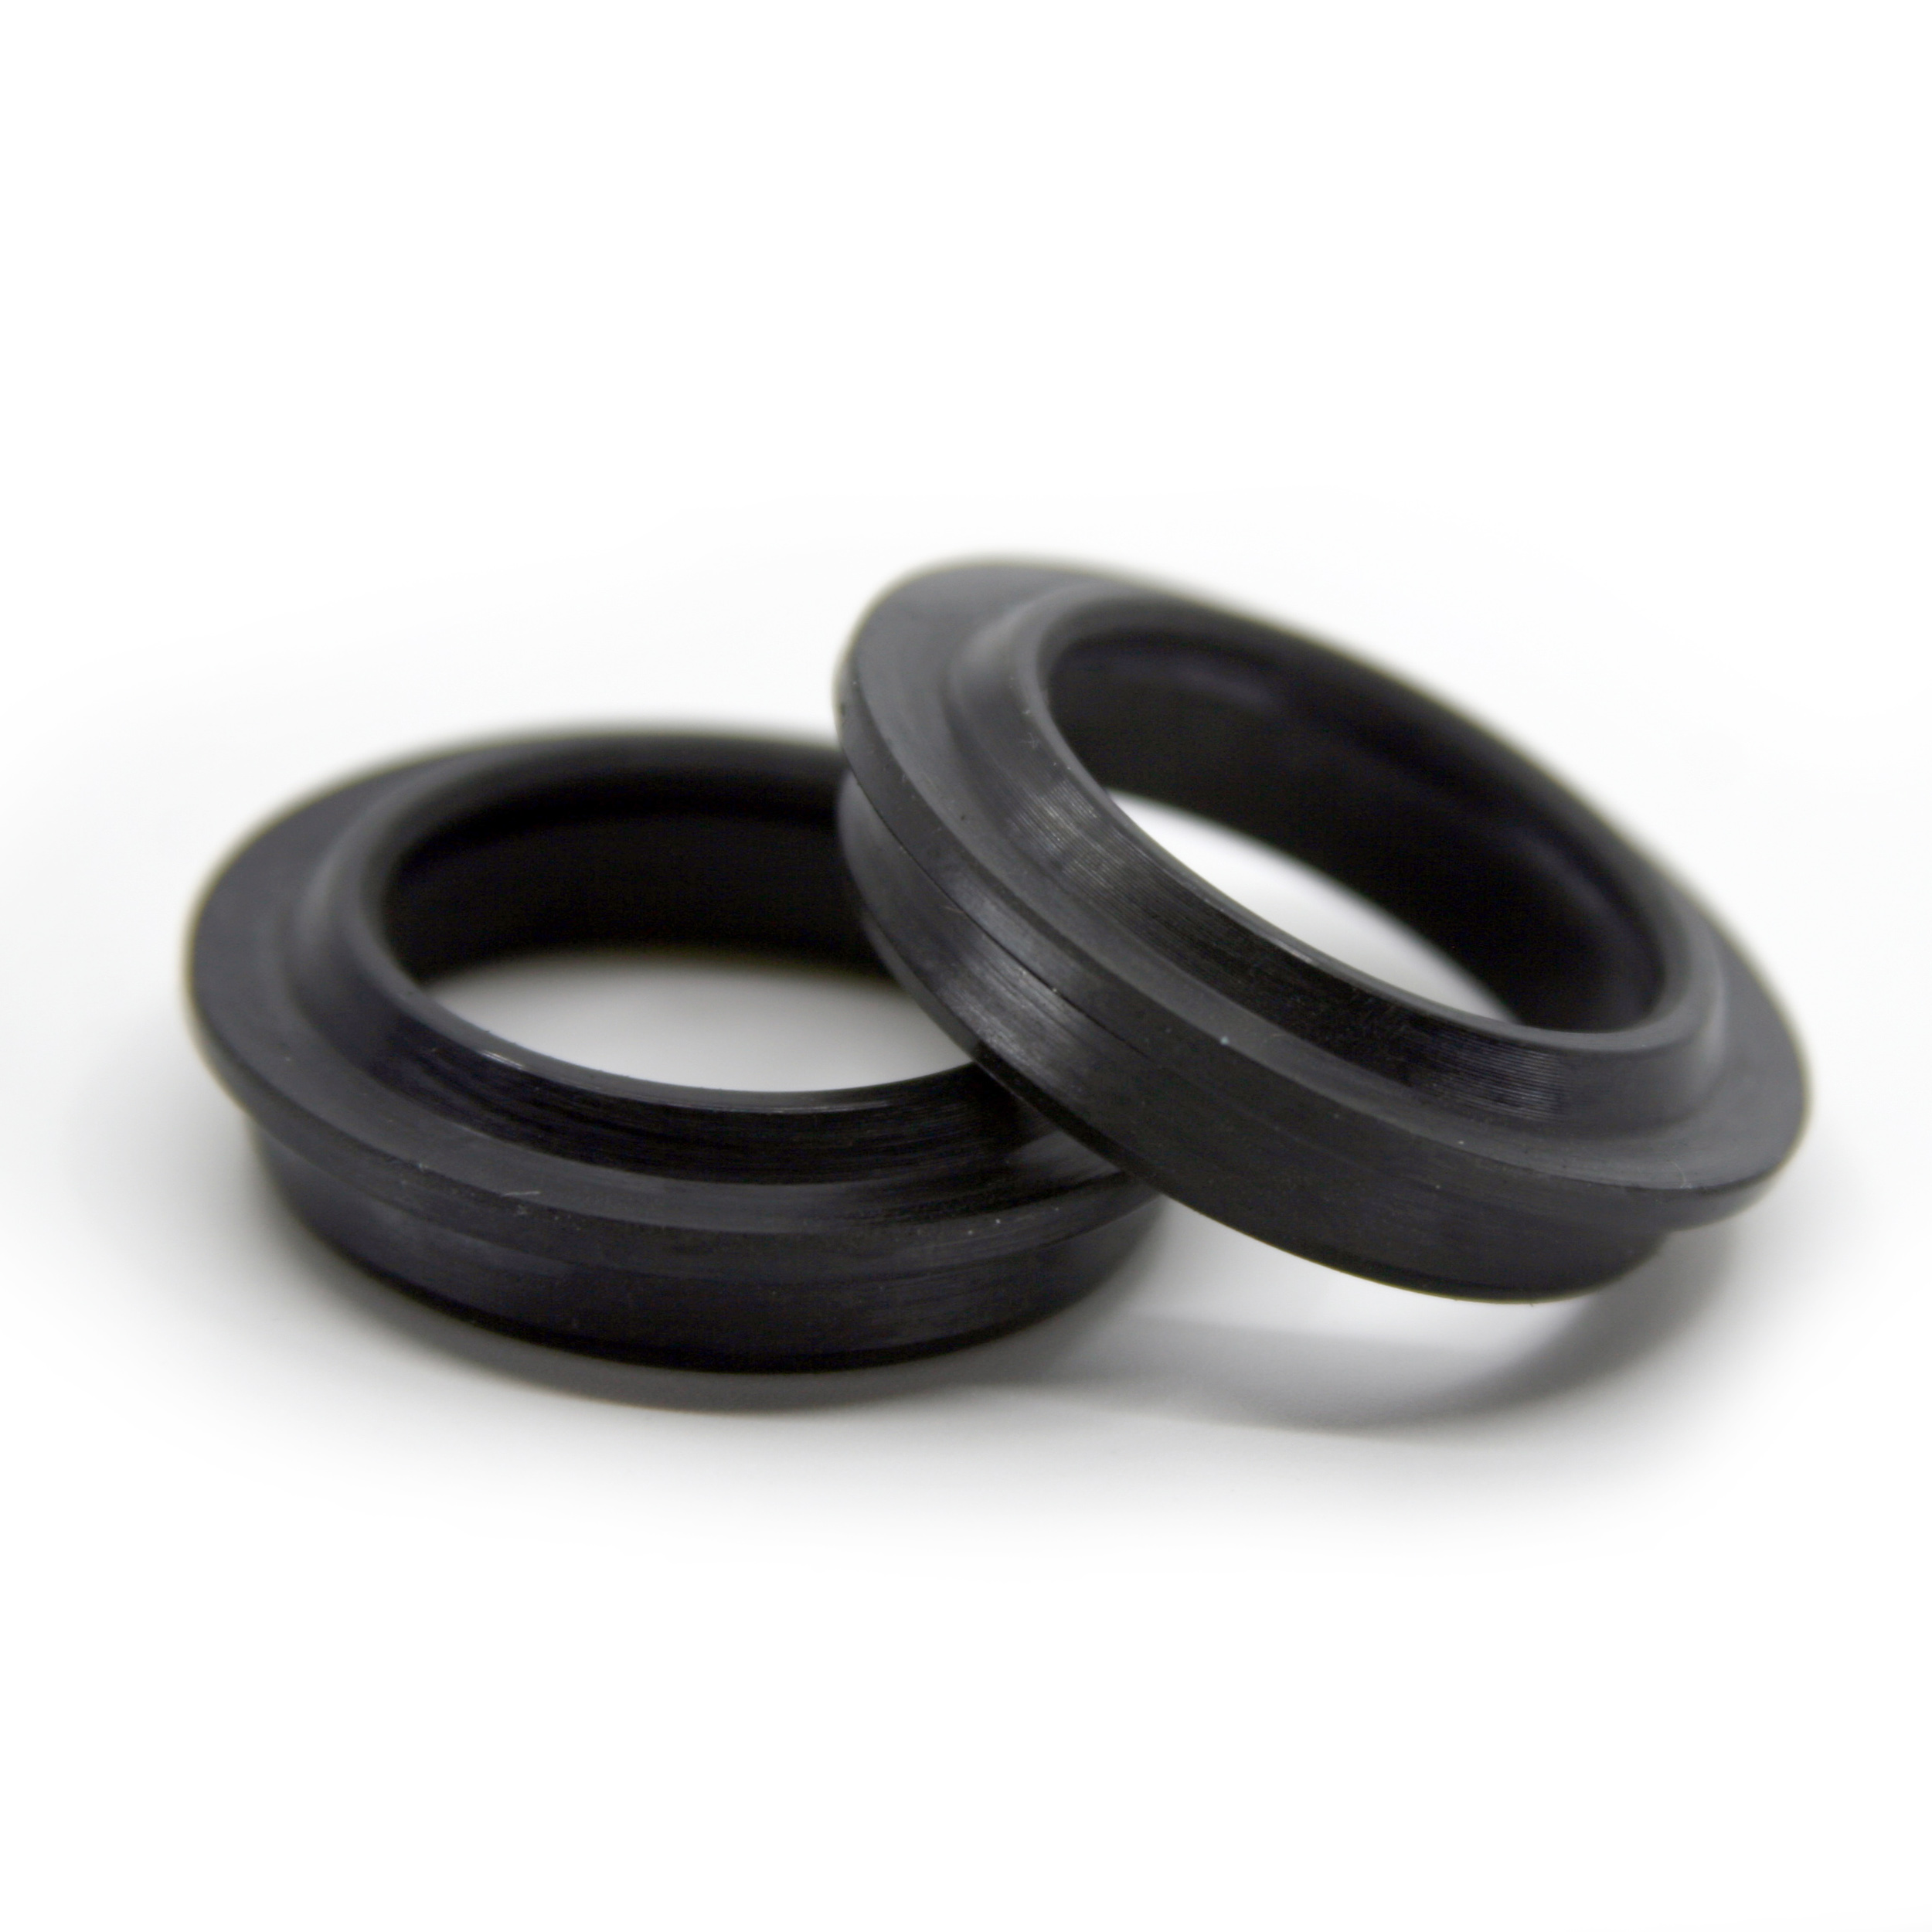
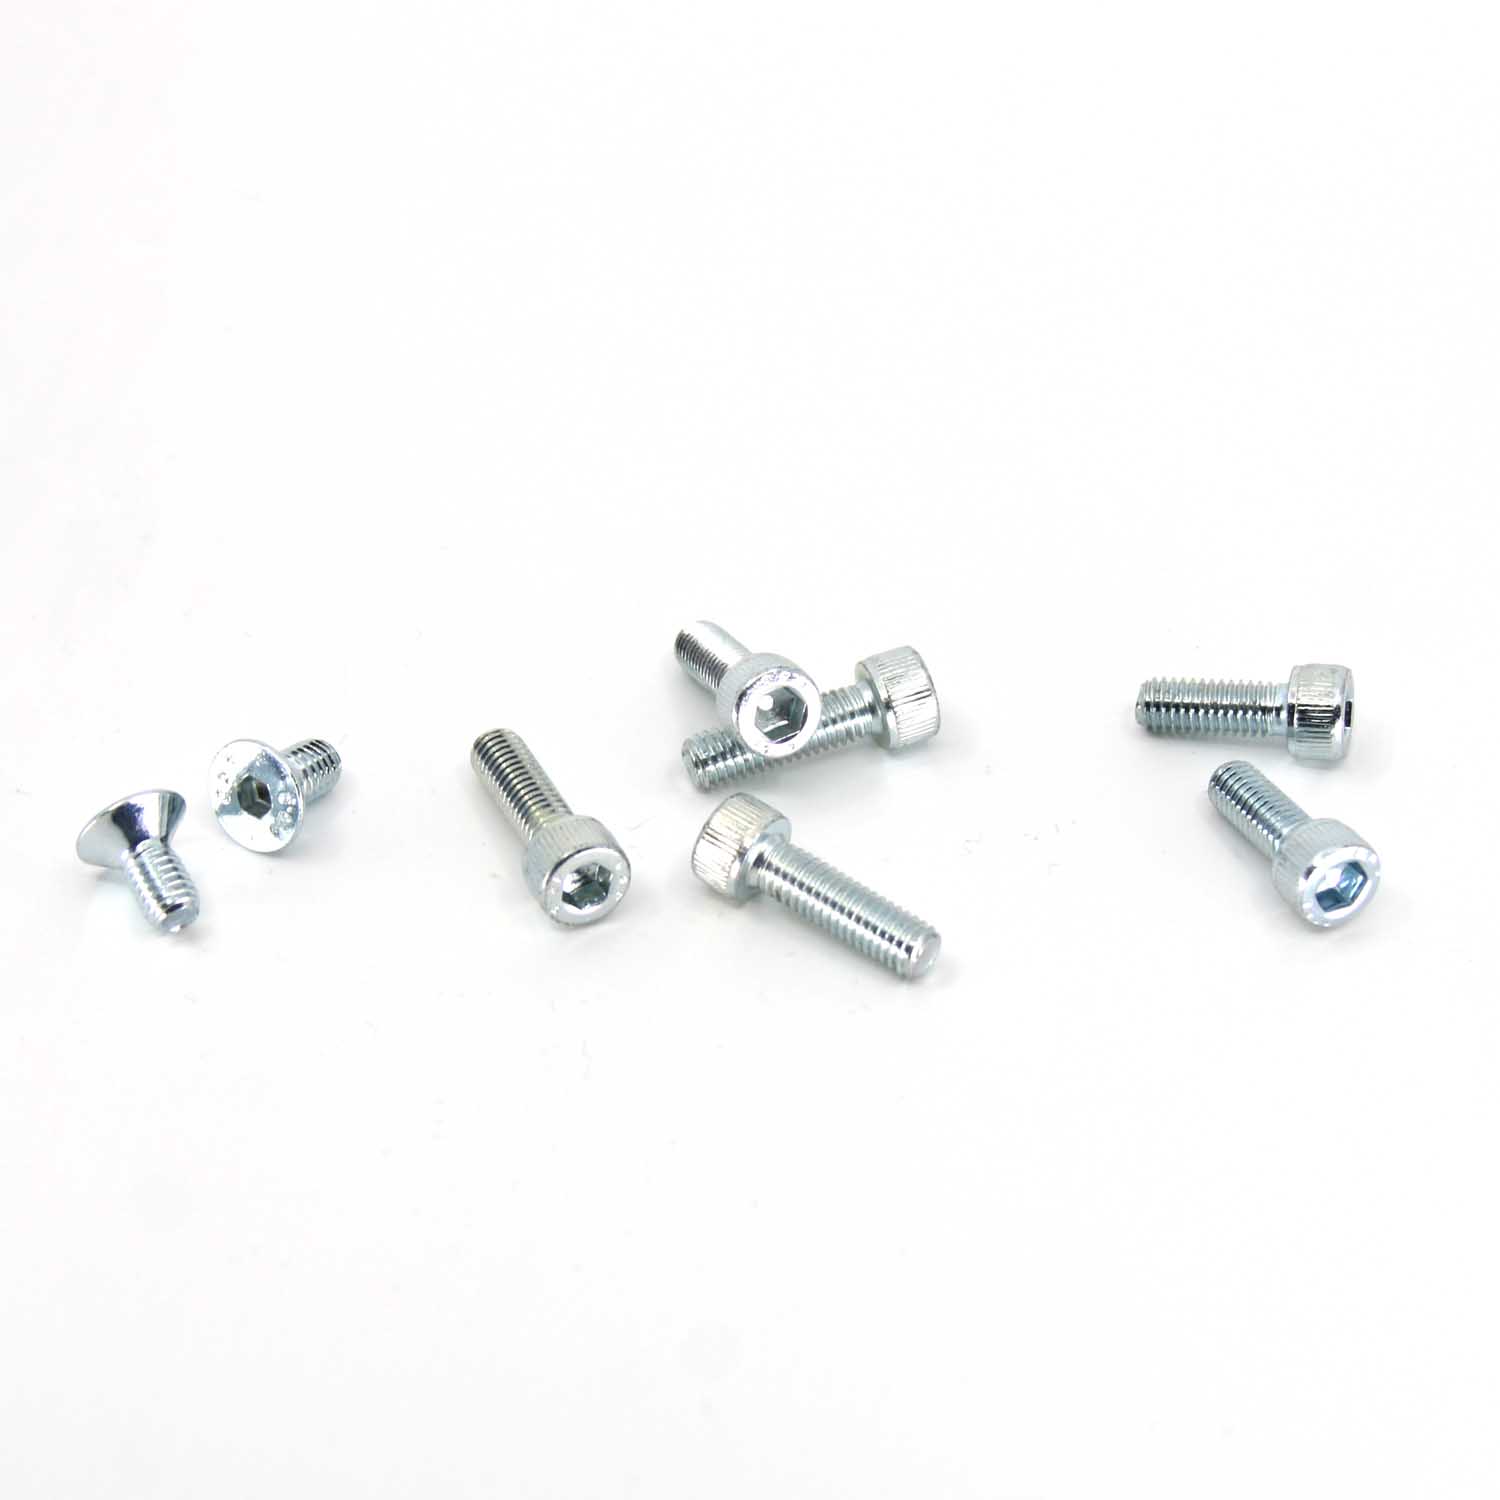
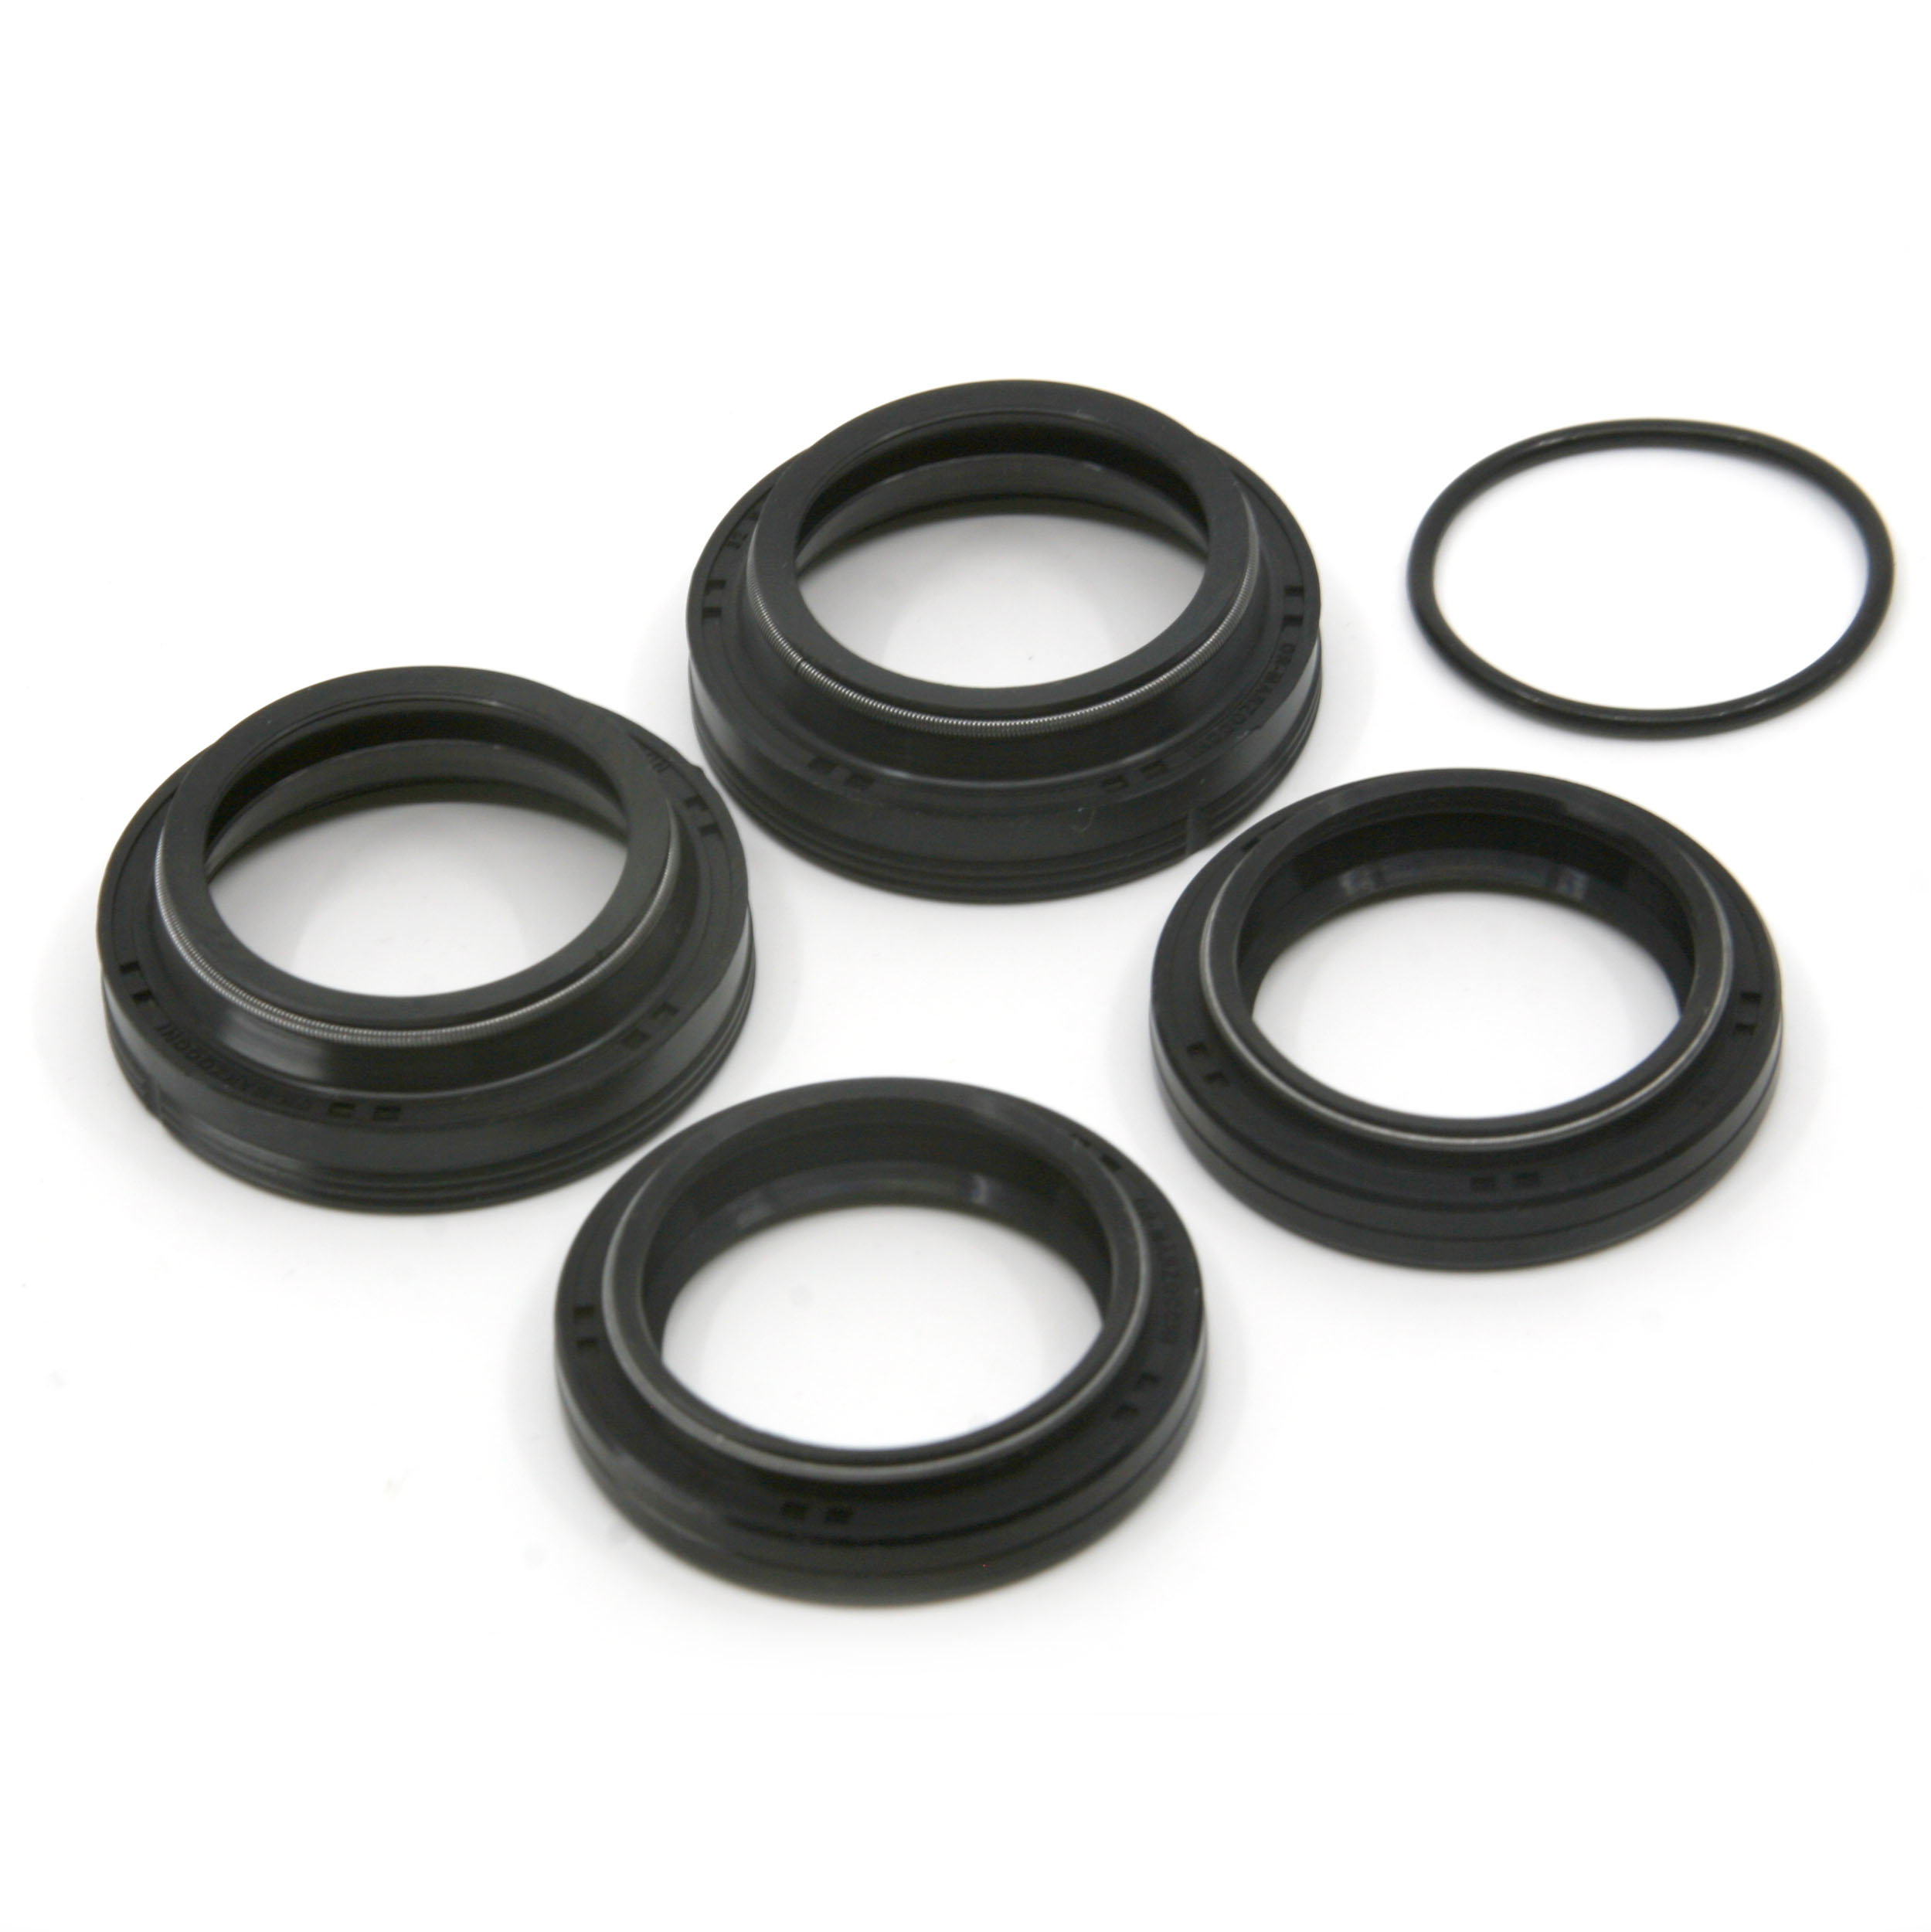
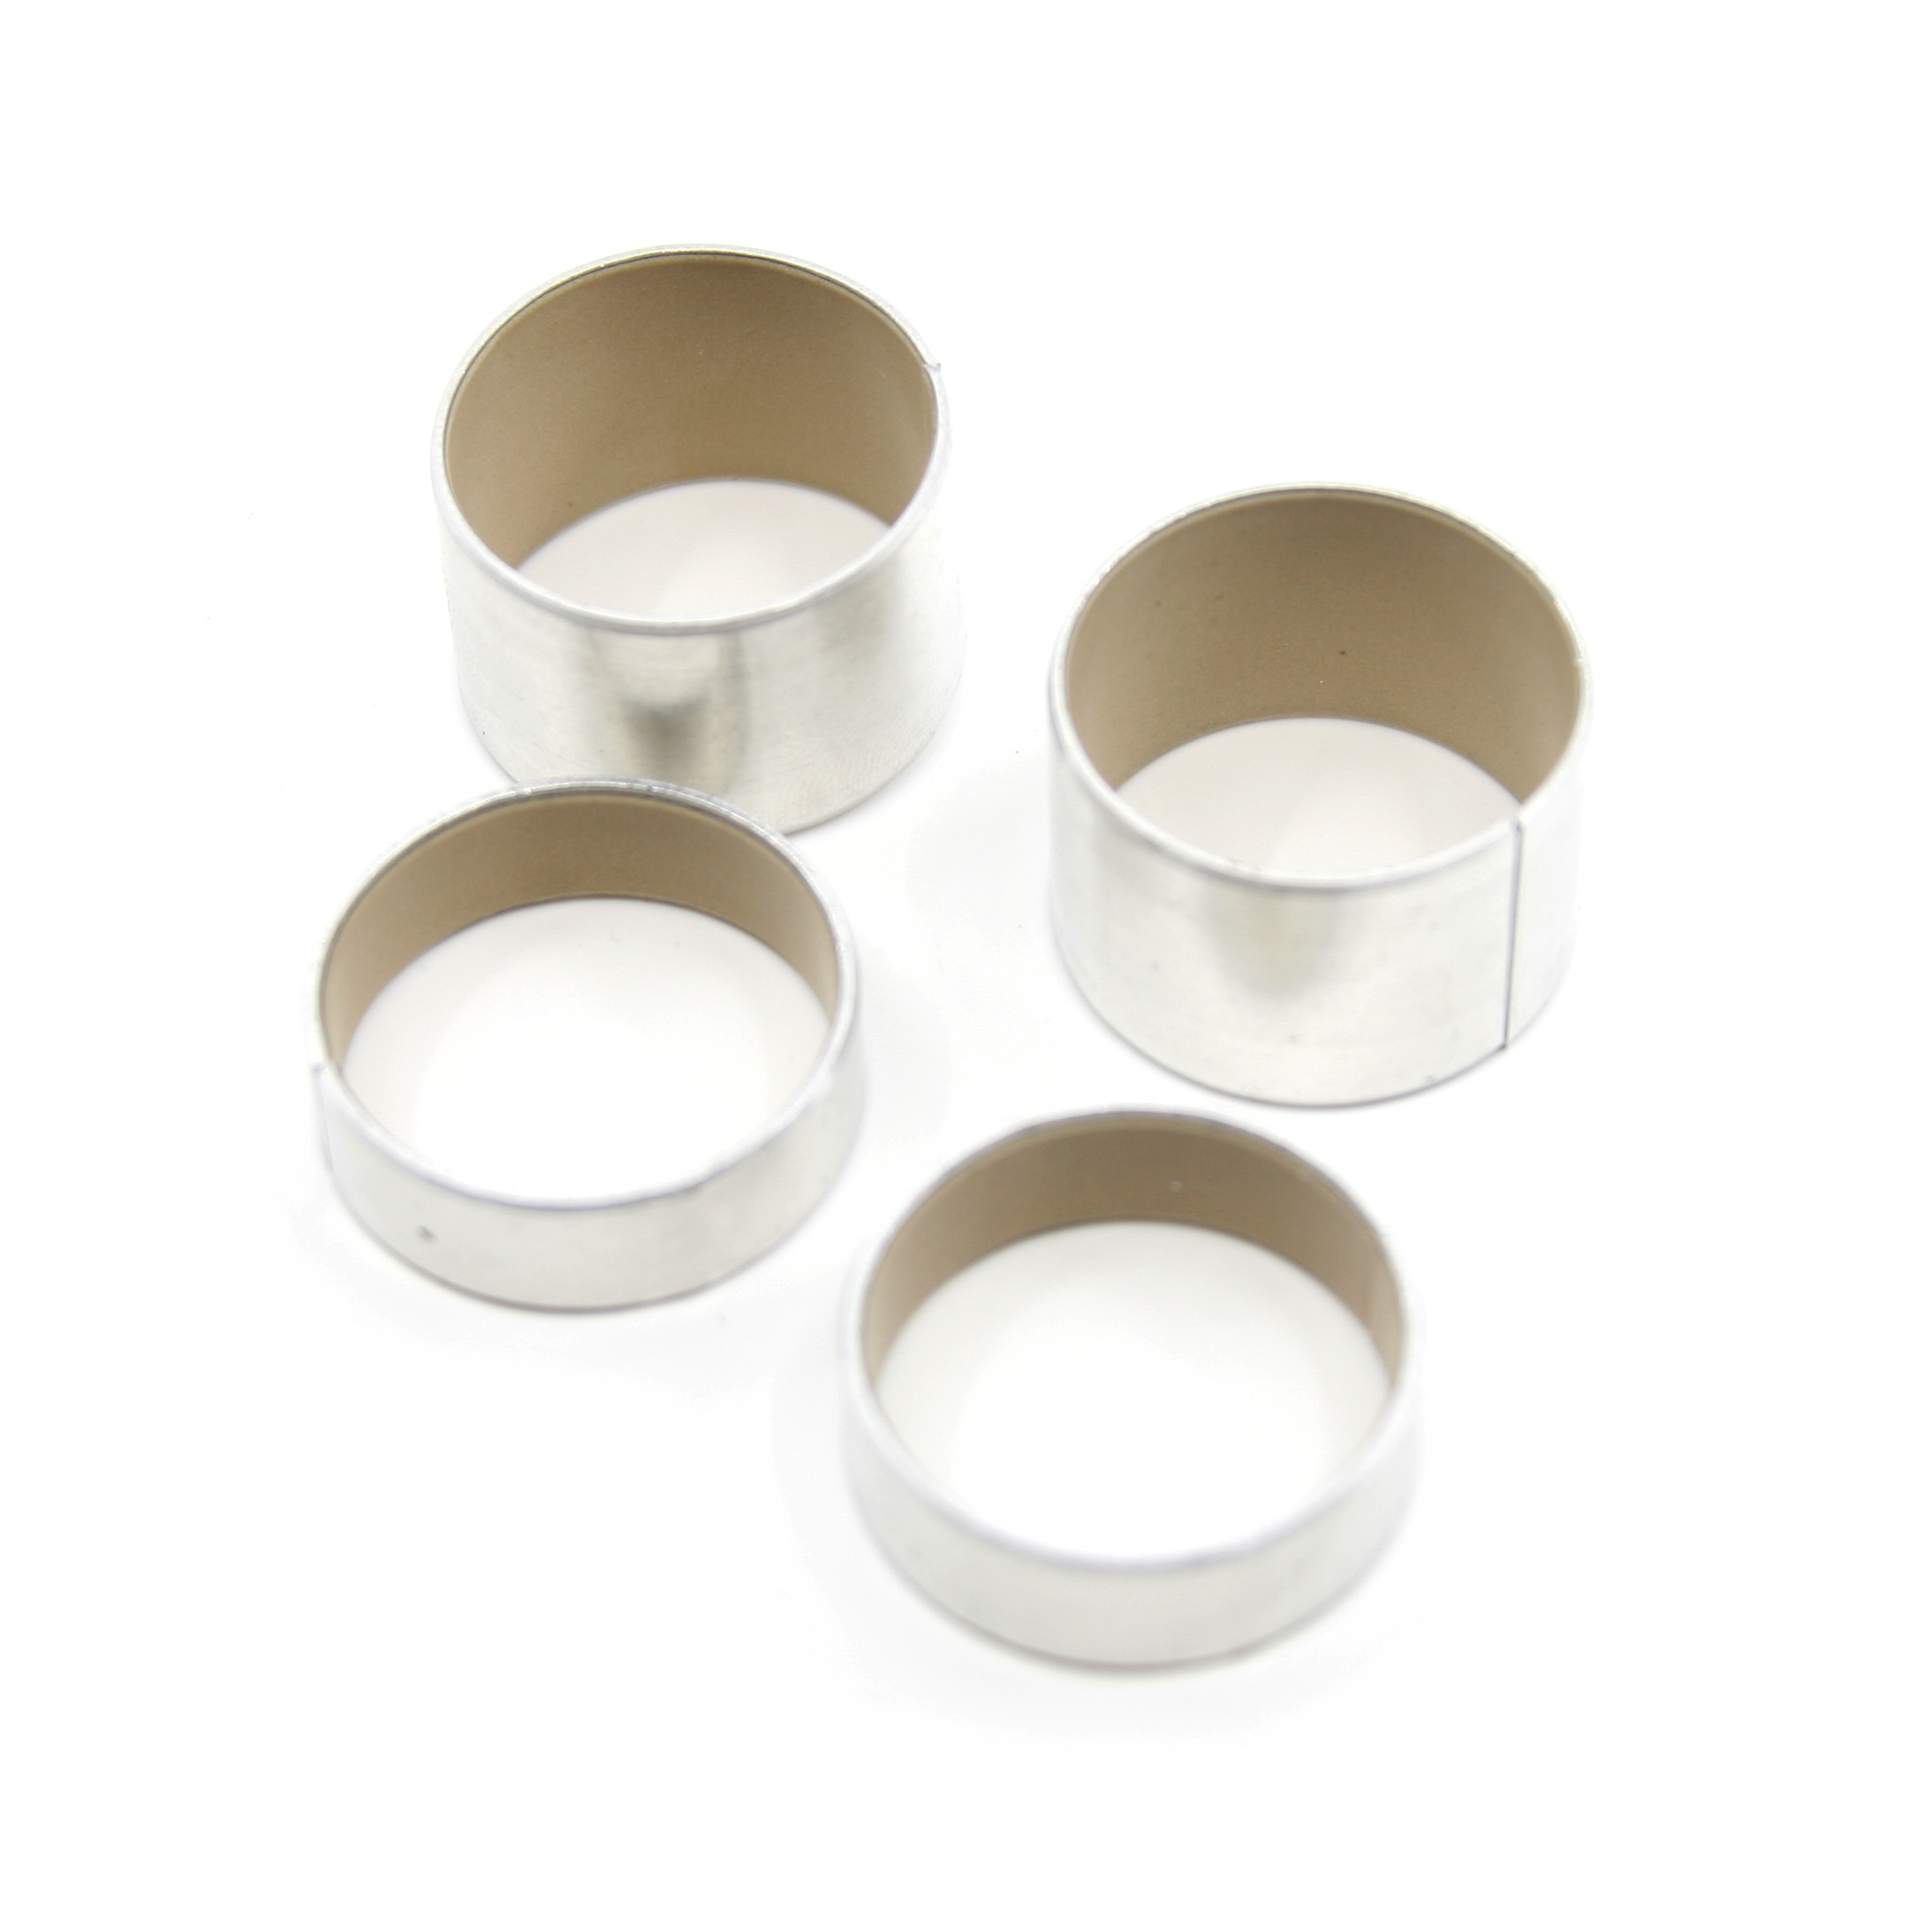
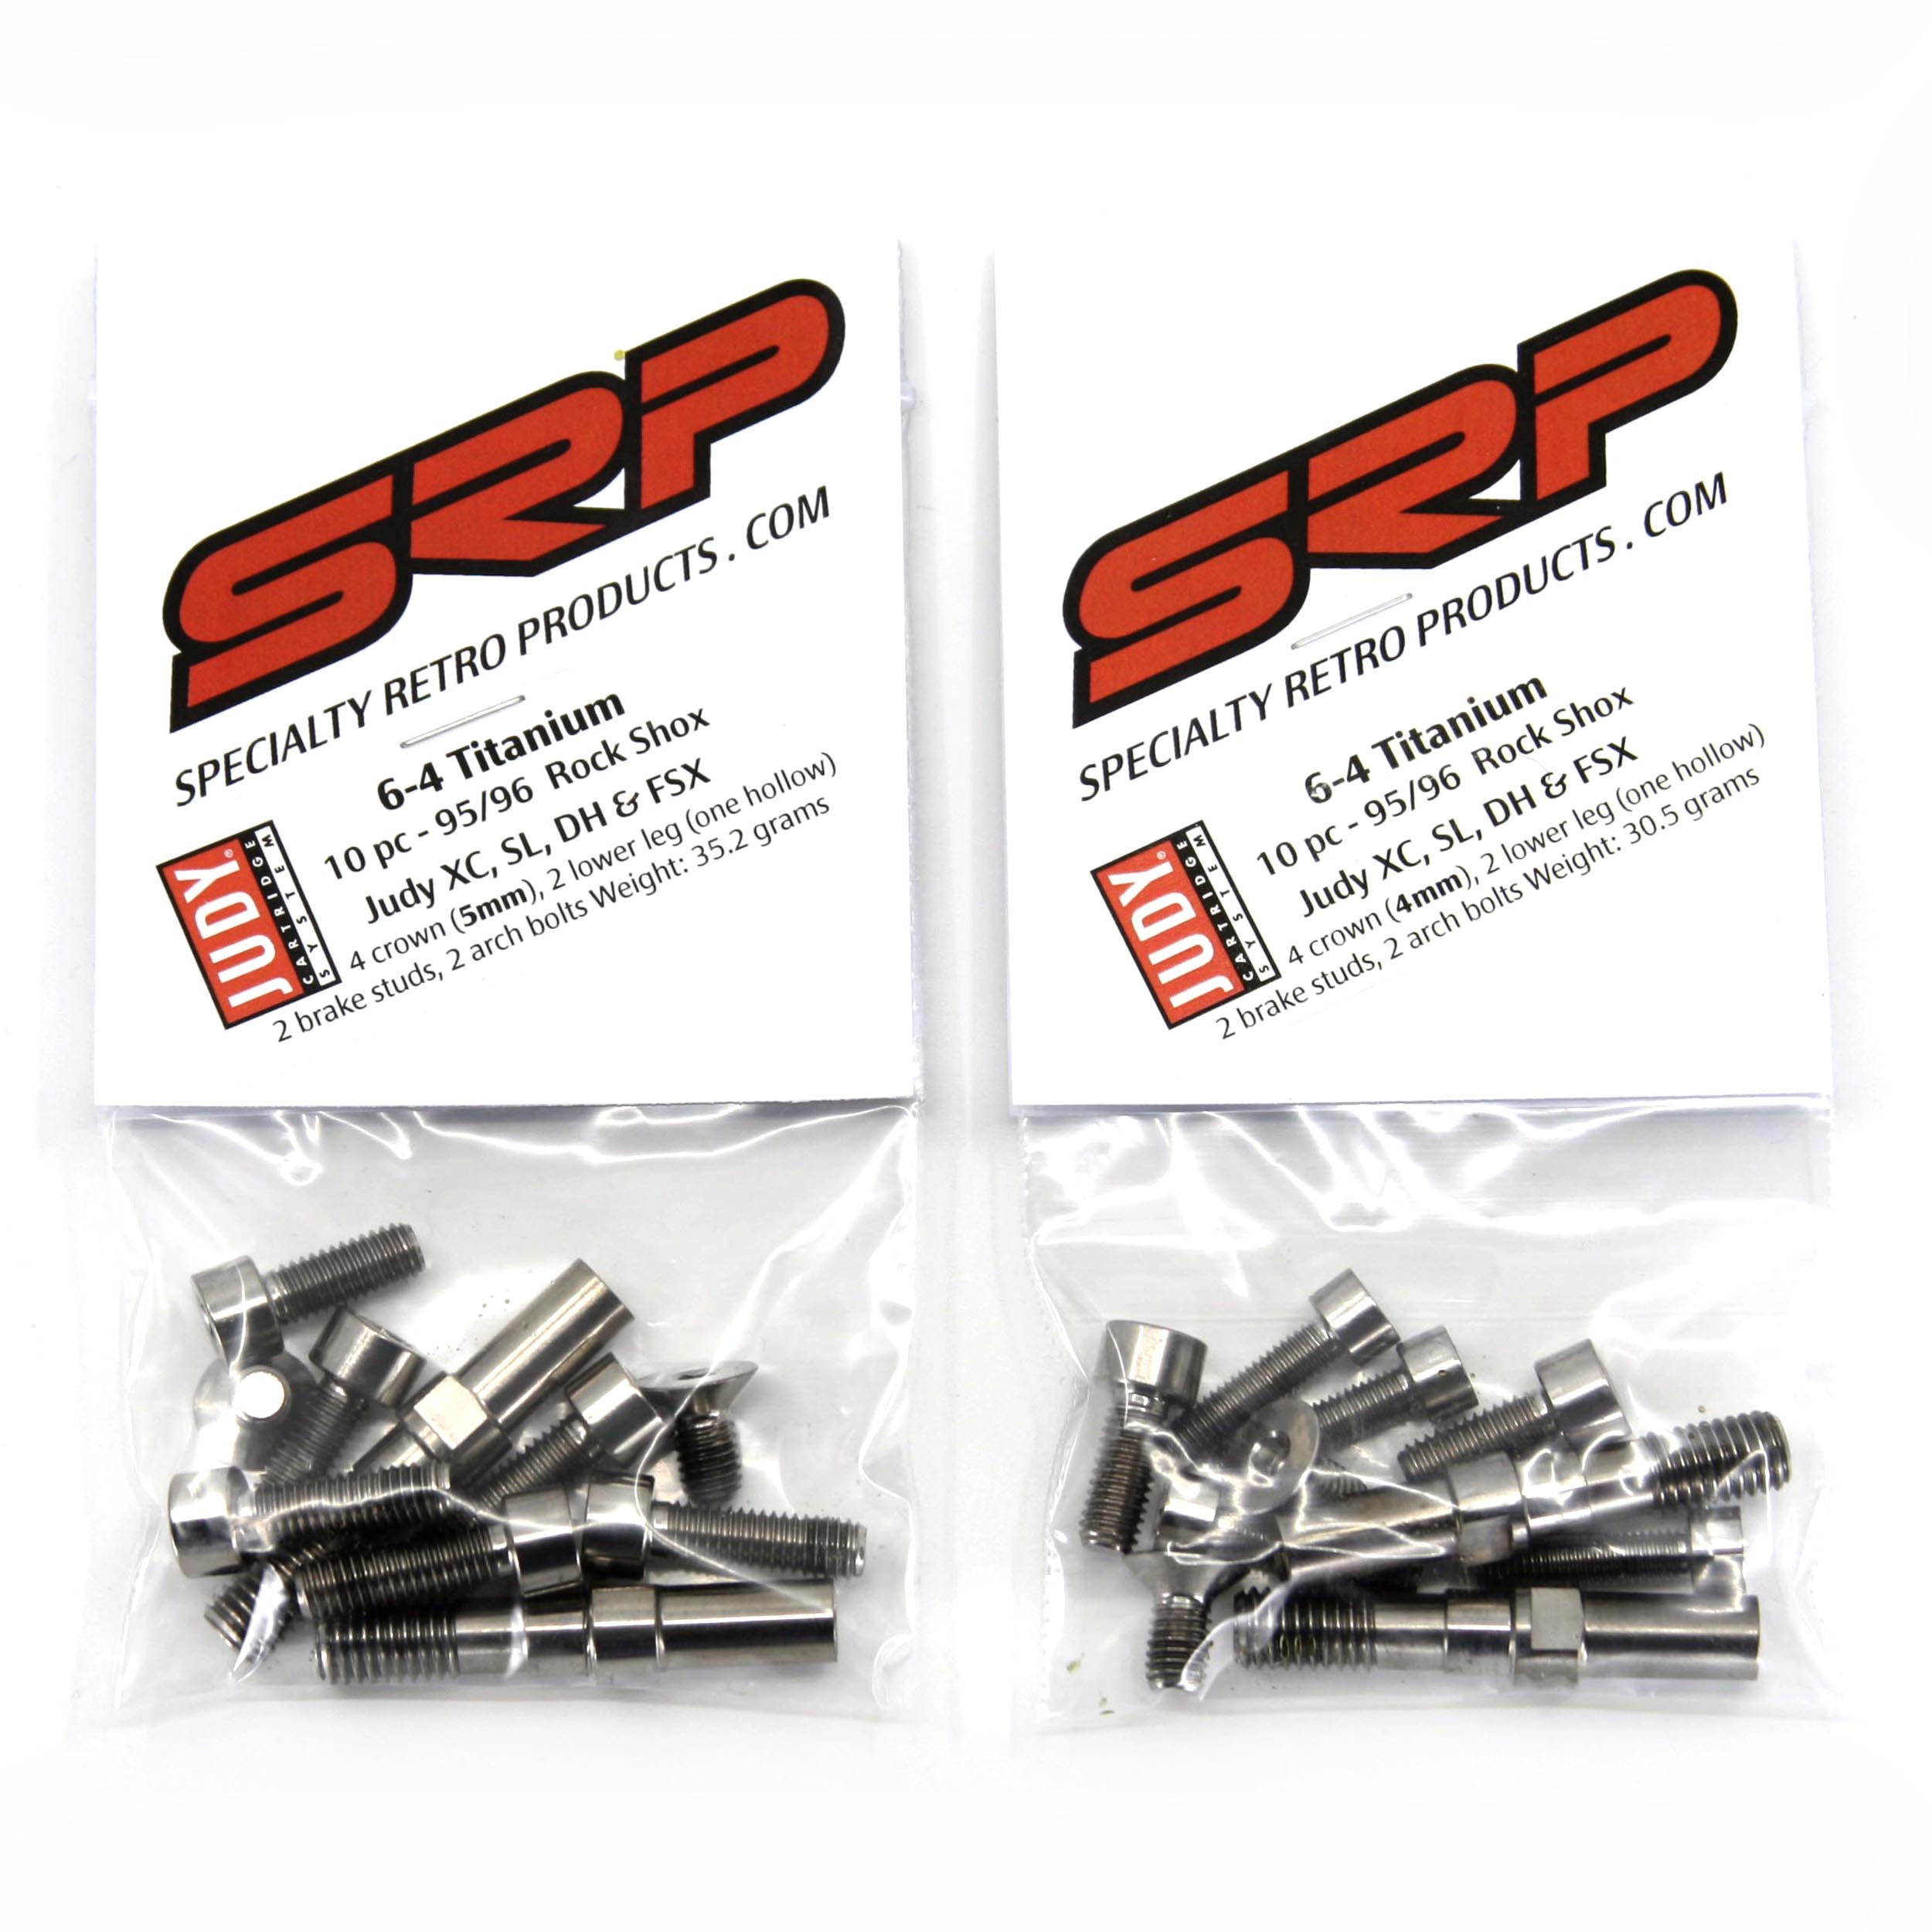
If you have the 95/96 forks don’t forget to add a new set of dust wipers or a Titanium bolt upgrade kit. See our other listings.
These kits will work with the following forks:
1995 and 1996 RockShox Judy XC, SL, DH and Specialized FSX
1997 and 1998 RockShox Judy C, T2, XC, SL and DH
1995 and 1996 RockShox Quadra 21R
Manitou EFC (YES Manitou EFC forks uses the same kits, these forks have 3″ of travel)
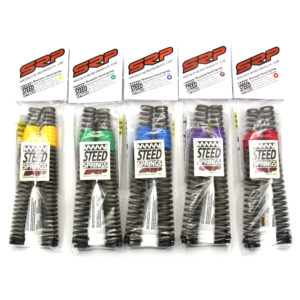
The length of the forks travels has an influence on the way the springs ride based on your rider weight. We have developed a chart to help you decide which color is right for your application. If you fall into a category with two colors to choose from the color on the left will be slightly firmer and the color on the right will be slightly softer.
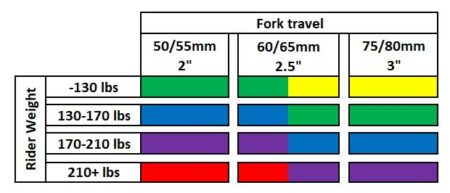
If you are unsure of your forks travel here is a rough guild. The 1995 and 1996 Judy XC, SL and FSX can standard with the 2” or 2.5” of travel. The 3” travel was an upgrade option for those forks. The Judy DH from those years’ came standard with the 3” travel. If you want to confirm the actual travel you can do it one of two ways.
-If the fork is still working properly, lift up the black rubber boot/cover on one of the legs and add some grease or a snug ziptie around the leg right at the rubber seal. Ride the bike and try to fully compress the shock until the feel it bottom out on rubber stop. Lift the boot back up and measure how far up the fork leg the grease or ziptie has moved.
-If your MCU/Elastomers are dead the fork will most likely be in the fully compress position. Lift up the rubber boot and add a piece of take onto the leg just above the black rubber seal. Then lift up from the stem with one hand and push down on the front wheel with the other hand until the legs are full extended. Lift up the boot and measure the distance between the piece of tape you added and the black rubber seal.
Our kits maximize all of the available space inside the fork legs. If your old elastomers have started to corrode the inside of the tube installation of the springs can be difficult. If you are unable to install the spring we will take them back and issue a refund.
One of our customers made an installation video if you would like to see what is involved. https://youtu.be/HZIbFsbqeDU




JFCoombs –
I really like them. The Blue springs are most noticeable on downhill descents where the fork now “takes a set” as you carve through corners. My old Speed Springs would immediately chatter, working the damper from the start of the corner. The first 1/4 of the travel seems to be this “take a set” phase. With just 2 clicks of preload the fork doesn’t wallow on the flats, feels firm and planted. Final setup with the White Bros. + Hardbody cartridge was with 2 of the stock shims between on top of the spring and the adjuster cap.